Introduction
Halloween is just around the corner, and there’s no better way to sweeten the spooky season than with themed treats. Chocolate-covered Oreos, a crowd favorite, offer a delightful mix of simplicity and charm. These easy-to-make confections not only tantalize the taste buds but also add a festive flair to your celebrations. Whether you’re hosting a party or simply indulging in a Halloween-themed snack, these dipped Oreos are a must. Their eye-catching designs make them perfect for Instagram-worthy moments, while the ease of preparation ensures you spend more time enjoying and less time stressing in the kitchen. Get ready to impress your guests with this tasty treat that’s both fun and festive.
Essential Ingredients
To create the perfect Halloween Dipped Oreos, you’ll need a few main ingredients. These items are the backbone of your spooky creations, ensuring they’re both delicious and visually enchanting.
- Oreos: The classic cookie. You’ll need about 24 Oreos for a good batch. Feel free to choose your favorite variety, be it the original, double-stuffed, or even a seasonal flavor.
- Chocolate Melts: Pick your choice of 10 ounces of chocolate. Whether it’s dark, white, or colored candy melts, this is what gives your Oreos a smooth, sweet coating.
- Decorations: Don’t forget the spooky touches! These include Halloween-themed sprinkles, candy eyes, or tiny decorative pumpkins to give each cookie its own character.
Optional Ingredients
Want to take these treats to the next level? Dive into these optional ingredients that can add a magical twist to your Halloween Oreos:
- Festive Sprinkles: A handful of Halloween sprinkles in vibrant colors can make a world of difference. Choose mixes that scream Halloween with bats, ghosts, and pumpkins.
- Edible Glitter: For a dash of sparkle, consider using edible glitter. Not only does it catch the eye, but it also adds an extra layer of fun.
- Seasonal Candy: Pick up some candy corn or mini peanut butter cups to nestle atop the chocolate for a sweet and festive flair.
Each of these ingredients comes together like pieces of a puzzle, creating a deliciously spooky treat that’s sure to impress. So, grab your mixing bowls and let the Halloween magic begin!
Step-by-Step Instructions
Creating spooky chocolate-covered Oreos for Halloween is the perfect way to add a touch of fun to your spooky festivities. With just a bit of patience and creativity, these treats will surely be a hit at any celebration. Follow these steps to turn ordinary Oreos into eerie delights.
Preparing the Chocolate
Start by melting the chocolate. You can use either a microwave or a double boiler, depending on your preference.
- Microwave Method: Place your chocolate chips or chunks into a microwave-safe bowl. Heat the chocolate on medium power for about 30 seconds. Stir the chocolate, then continue heating in 15-second intervals, mixing each time, until it’s fully melted and smooth.
- Double Boiler Method: Fill the bottom section of a double boiler with a bit of water and bring it to a simmer. Place the chocolate in the top section, stirring steadily until it’s melted. Make sure water doesn’t touch the chocolate, as moisture can cause it to seize.
Dipping the Oreos
Once your chocolate is ready, it’s time for dipping. This step requires a gentle hand to ensure each Oreo is evenly coated.
- Hold the Oreo with a fork, gently lower it into the melted chocolate.
- Cover the Oreo completely with chocolate, using a spoon to help coat it if needed.
- Lift the Oreo out, tapping the fork gently on the edge of the bowl to let excess chocolate drip off.
Adding Decorations
Here comes the creativity! Decorate your Oreos while the chocolate is still wet, ensuring the toppings stick well.
- Sprinkles: Quickly sprinkle your choice of colorful or spooky-themed sprinkles over the wet chocolate.
- Candy Eyes or Other Toppings: Place candy eyeballs or festive decorations strategically to enhance the Halloween theme. Try using a toothpick to position small decorations for precision.
Setting the Oreos
Finally, allow your dipped Oreos to set so they’re ready to enjoy.
- Refrigerate: Place the Oreos on a parchment-lined tray and put it in the fridge. This will help the chocolate harden faster and prevent any smudges.
- Room Temperature: If you prefer, set them on your counter, away from direct heat, and allow the chocolate to firm naturally.
With these steps, your spooky Oreos will be ready to delight guests in no time. Remember, the key to success is taking your time and having fun with the process. Happy decorating!
Creative Decoration Ideas
Transform ordinary Oreos into Halloween masterpieces with just a little creativity. Whether you’re hosting a spooky gathering or just want to impress your friends with some festive treats, these decoration ideas are sure to leave a haunting impression. Let’s dive into the world of edible art!
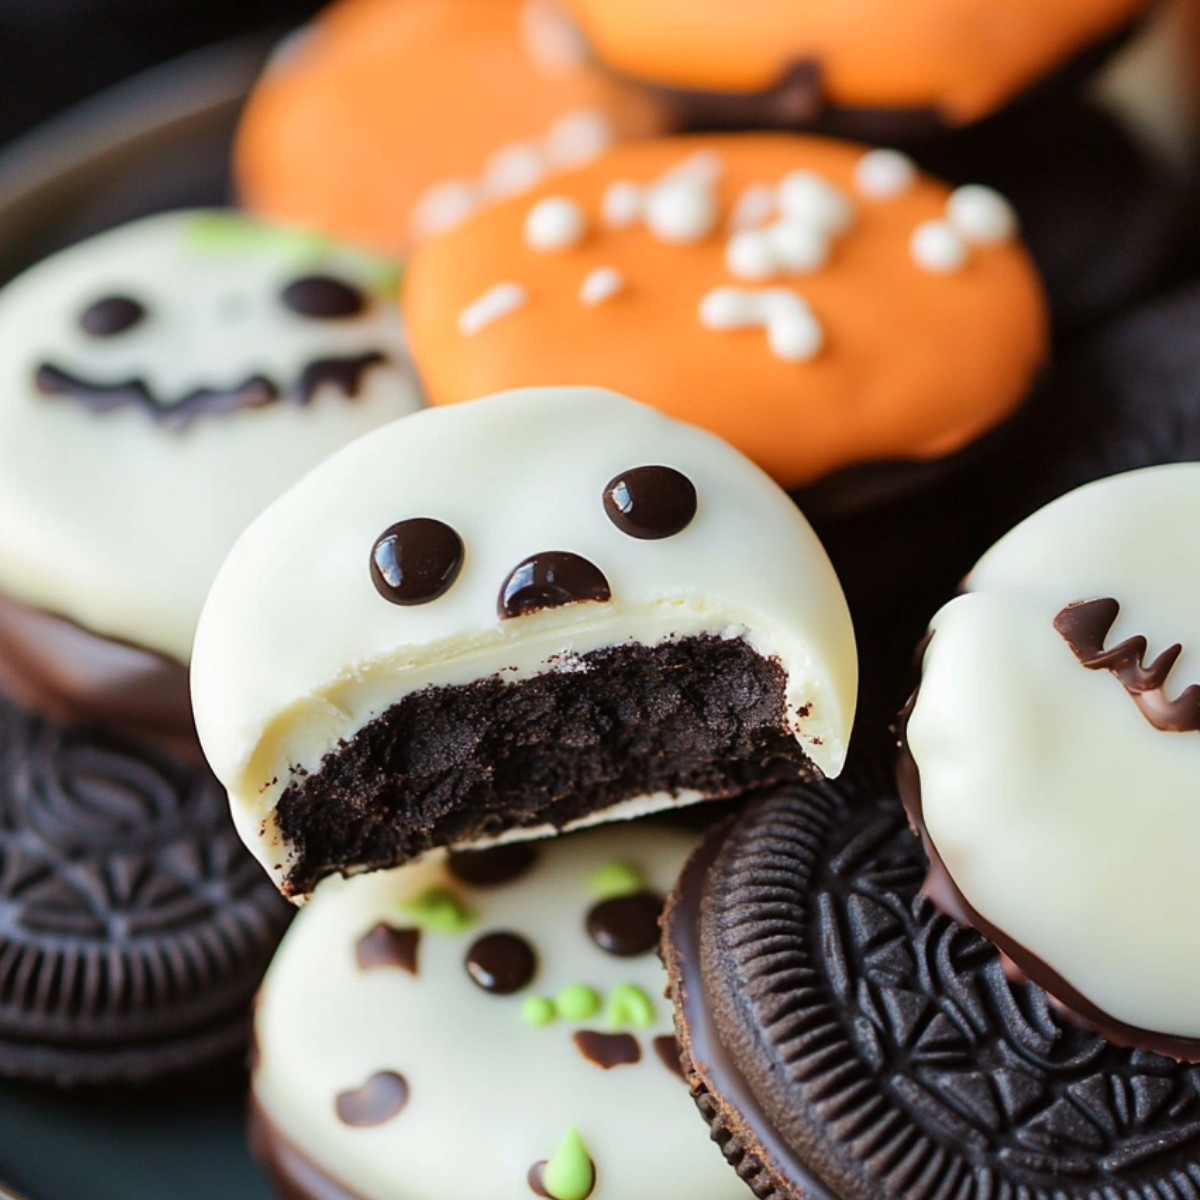
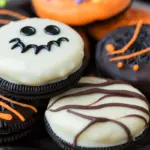
Ghostly Oreos
Creating ghostly designs on Oreos is as simple as a ghostly whisper. Here’s how you can turn your cookies into little apparitions:
- Melt White Chocolate: Start by melting some white chocolate in a microwave-safe bowl. Use a spoon to drizzle it over your Oreos, making sure you cover them completely.
- Add Ghostly Eyes: While the chocolate is still soft, place two mini chocolate chips on the top half of each Oreo to form the eyes. You can gently press them in so they stay put.
- Spooky Details: Use a toothpick to draw a mouth or other ghostly features before the chocolate sets. Be quick, as the chocolate hardens fast!
And there you have it—chillingly cute Ghostly Oreos ready to haunt any snack table.
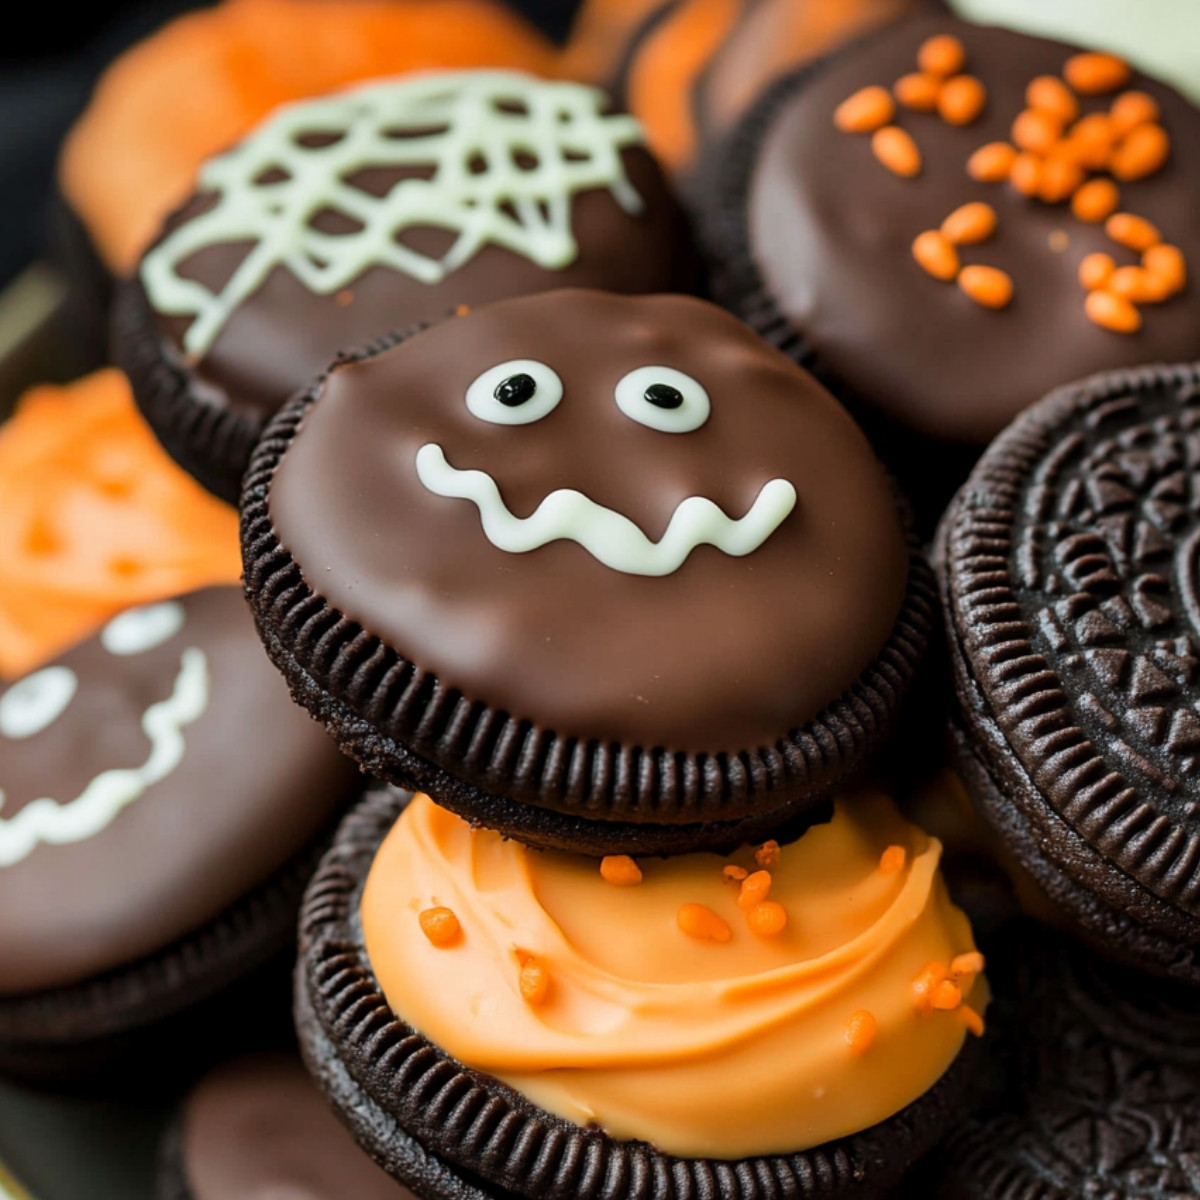
Pumpkin Faces
Next up, let’s give your Oreos a makeover with some pumpkin vibes:
- Orange Chocolate Magic: Melt some orange candy melts to create that classic pumpkin look. Dip each Oreo until fully coated.
- Carve with Icing: Use green icing to add stems and vines on top of the Oreo, creating a lively pumpkin patch effect.
- Draw Faces: Grab black icing or an edible marker and draw fun or spooky faces on each Oreo. Will your pumpkins be smiling or scary? The choice is yours!
These Pumpkin Faces will definitely make your Halloween treats a hit, capturing the spirit of the harvest season in every bite.
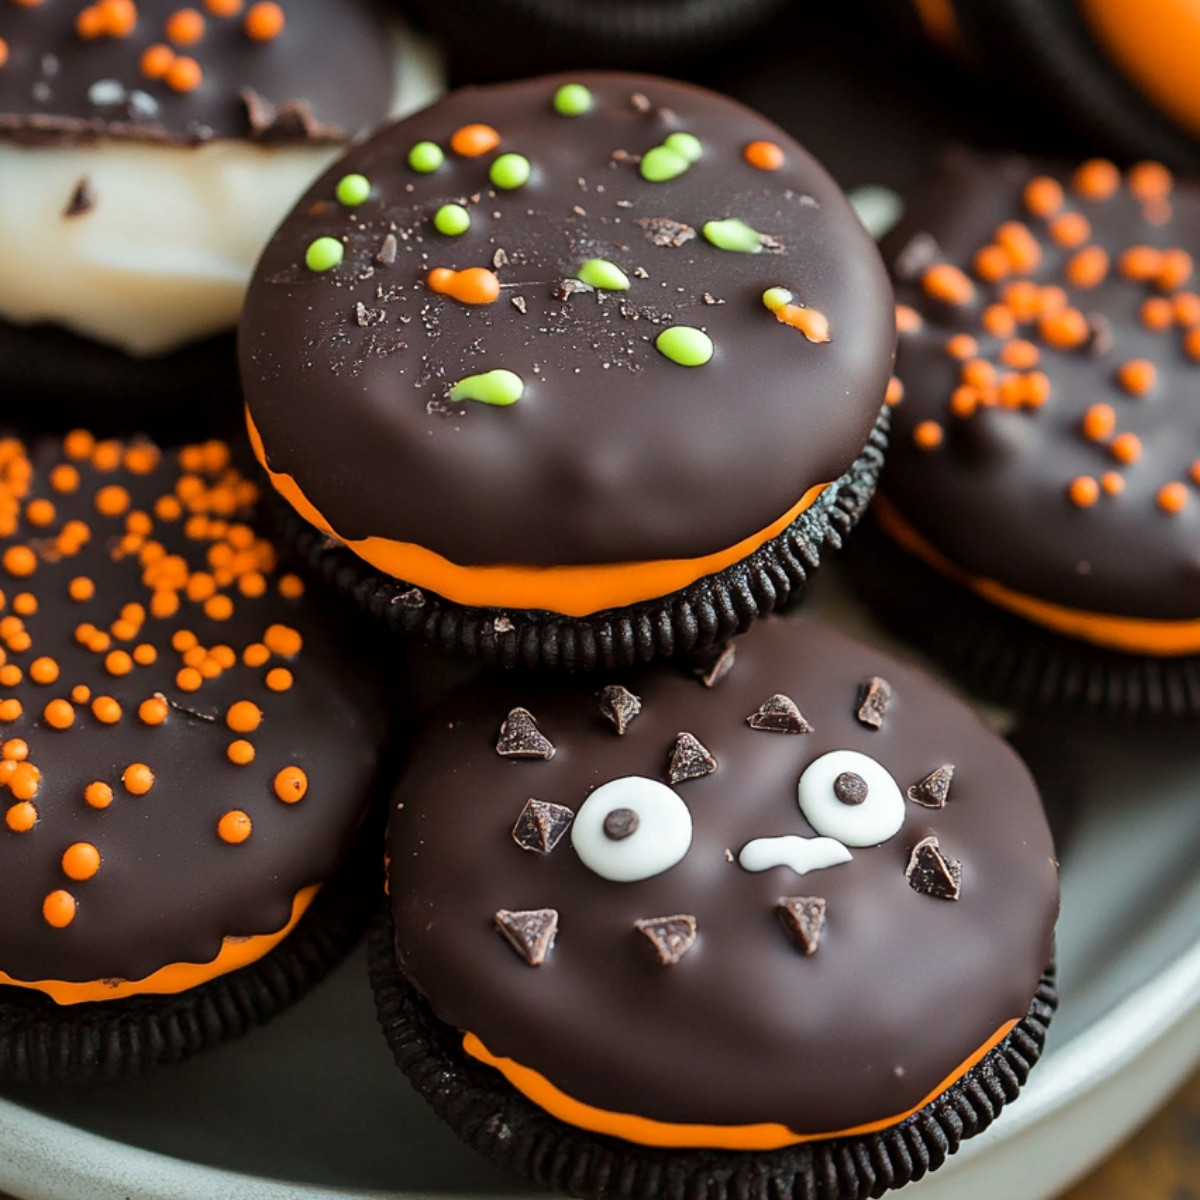
Monster Designs
For those who love bringing monsters to life, these Monster Designs are sure to impress:
- Select Your Colors: Use a mix of colorful chocolate melts—purple, green, and even blue for a whimsical twist. Melt them as you would for the previous ideas.
- Add Character Eyes: Place candy eyeballs, the more the merrier! Monsters can have one eye or even five. Go wild!
- Crazy Hair and Teeth: Use extra melted chocolate or icing to give your monsters wild hair or silly teeth. You could even add sprinkles for an extra pop of fun.
- Finishing Touches: Use contrasting colors to add scars, stitches, or other monster details.
These Monster Designs not only taste delicious but also look like they’ve stepped right out of a Halloween storybook. Get creative and let your imagination run wild!
Storage Tips for Easy Spooky Chocolate-Covered Halloween Dipped Oreos
Ensuring your spooky chocolate-covered Oreos maintain their delightful crunch and flavor is crucial for enjoying them long after the Halloween festivities. Here are some practical tips for storing these tasty treats, whether you’re planning to keep them at room temperature for a few days or store them for the long haul in the freezer.
Short-Term Storage: Best Practices for Storing at Room Temperature
If you plan to munch on your dipped Oreos within a week, room temperature storage is both convenient and effective. Follow these simple steps:
- Use an Airtight Container: Seal your Oreos tight in an airtight container. It keeps them fresh by preventing air exposure, which can make them stale.
- Avoid Moisture: Moisture is the enemy. Store your cookies in a dry area, away from the sink or dishwasher. This helps maintain their crunchy texture.
- Keep Cool, But Not Cold: Choose a cool spot in your kitchen, like a pantry. Direct sunlight or heat can melt the chocolate. You want them cool, but room temperature.
By following these steps, your Oreos should stay fresh and tasty for up to seven days.
Long-Term Storage: Guidelines for Freezing the Dipped Oreos
If you have a batch of Oreos you want to save for a special occasion later, freezing them is a great option. Here’s how to do it right:
- Pre-freeze the Cookies: Place the Oreos in a single layer on a baking sheet. Freeze them like this for about an hour to solidify the chocolate, preventing them from sticking together later.
- Wrap Them Up: After the initial freeze, wrap each Oreo in wax paper or plastic wrap. This extra layer adds protection against freezer burn.
- Use a Freezer Bag: Put the wrapped Oreos in a heavy-duty freezer bag. Press out the air before sealing to avoid any unwanted moisture.
- Label and Date: Always label your bag with the date. It’s a simple step that helps you remember how long they’ve been in the freezer.
Properly stored, your chocolate-covered Oreos can last in the freezer for up to three months. When you’re ready to enjoy them, simply let them thaw at room temperature for about 30 minutes, and they’ll be as delicious as the day you made them.
By following these storage tips, you can ensure your spooky treats remain fresh and irresistible whenever you choose to enjoy them. Whether you’re storing them short-term or planning for future festivities, these tricks will keep your Oreos in tip-top shape.
Serving Suggestions
When you’re planning a Halloween bash, those spooky chocolate-covered Oreos are sure to be a hit. But how do you serve them in a way that dazzles? Let’s explore two fun approaches for presenting these treats that will have your guests coming back for more.
Party Platters
Arranging Halloween treats on a party platter is an art form. Think about how you can make those Oreos look as tempting as they taste. Here’s how you can create a platter that stands out:
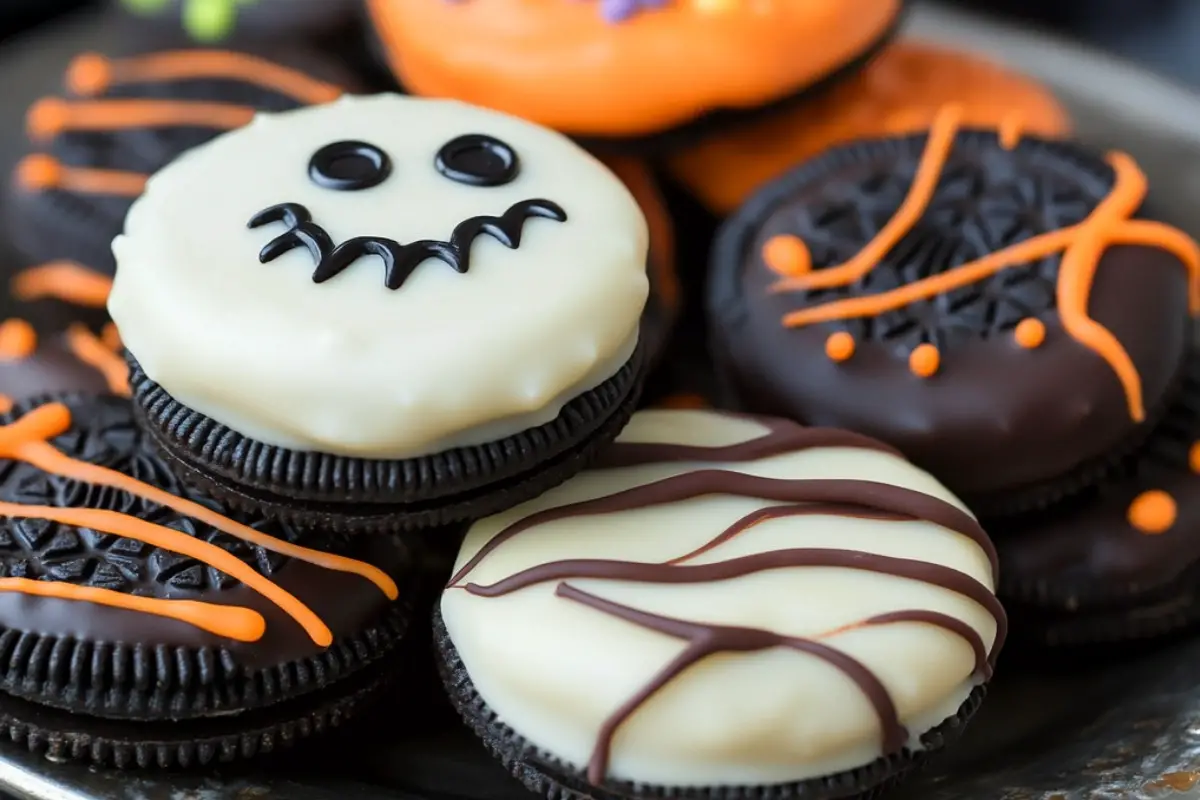
- Variety is Key: Mix different types of Oreos like orange and black sprinkles, white chocolate drizzles, and spooky eyes to create a platter that pops. The variety will keep eyes darting and hands reaching.
- Height and Layers: Stack and layer your Oreos to add dimension. Use mini cake stands or small bowls turned upside down to provide different levels of interest.
- Color Contrast: Use a dark or spooky-themed platter as the base to make the vibrant colors of your cookies shine. A black or deep purple platter can make those bright orange and white accents pop.
- Themed Decor: Add Halloween-themed decorations like mini pumpkins, spider webs, or plastic spiders to fill any gaps and enhance the spooky vibe.
Treat Bags
Turning dipped Oreos into treat bags makes for perfect party favors. They’re not just gifts; they’re an extension of your party’s personality. Follow these steps for creative packaging:
- Select the Right Wrap: Use clear cellophane bags to show off your decorated Oreos. You can also use themed bags with bats or ghosts printed on them for a little extra spirit.
- Seal with Style: Tie off each bag with orange and black ribbon or twine. Consider adding a small tag with a spooky message or pun for a personal touch—something like “Have a fang-tastic night!”
- Consider Presentation: If setting treat bags on tables, arrange them in baskets or bowls that match your party’s theme. A cauldron or mini tombstone dish creates a striking display.
These serving suggestions go beyond simply placing Oreos on a table. They transform your delicious creations into centerpieces of fun and festivity. Whether on a platter or wrapped as charming treats, these spooky delights will steal the show.
Conclusion
Wrapping up our delightful dive into the world of Easy Spooky Chocolate-Covered Halloween Dipped Oreos, it’s clear that these treats are both a fun and simple way to add some festive flair to your Halloween celebrations. Whether you’re a kitchen novice or a seasoned decorator, these Oreos offer a perfect canvas for creativity and imagination.
Easy and Fun
Why stress over complex desserts when these dipped Oreos are a breeze to make? With just a few ingredients and a little time, you can whip up a batch that will impress both kids and adults alike. The process is straightforward, making it a great activity to share with family or friends. Imagine the fun of decorating these cookies together! It’s a wonderful way to bond while letting your artistic side shine.
Encourage Experimentation
Feel free to play around with different toppings and designs. Here are a few ideas to get you started:
- Crushed Candies: Add a pop of color and texture.
- Edible Glitter: Make them sparkle under the Halloween lights.
- Colored Frosting: Create intricate designs with orange, black, and purple.
Share Your Creations
Once you have your spooky Oreos, don’t keep the magic to yourself! Share pictures of your creations on social media and tag your friends. It’s a great way to spread Halloween cheer and inspire others to join in on the fun.
Ready to get started? Grab your favorite Oreos, melt some chocolate, and let your imagination run wild. These spooky treats are more than just sweets; they’re a way to create memories and share the joy of Halloween with those around you. So what are you waiting for? Dust off your apron and dive into the world of Halloween Dipped Oreos today!
Easy Spooky Chocolate-Covered Halloween Dipped Oreos
Halloween is just around the corner, and there’s no better way to sweeten the spooky season than with themed treats. Chocolate-covered Oreos, a crowd favorite, offer a delightful mix of simplicity and charm. These easy-to-make confections not only tantalize the taste buds but also add a festive flair to your celebrations. Whether you’re hosting a party or simply indulging in a Halloween-themed snack, these dipped Oreos are a must. Their eye-catching designs make them perfect for Instagram-worthy moments, while the ease of preparation ensures you spend more time enjoying and less time stressing in the kitchen. Get ready to impress your guests with this tasty treat that’s both fun and festive.
Ingredients
Essential Ingredients
To create the perfect Halloween Dipped Oreos, you’ll need a few main ingredients. These items are the backbone of your spooky creations, ensuring they’re both delicious and visually enchanting.
- Oreos: The classic cookie. You’ll need about 24 Oreos for a good batch. Feel free to choose your favorite variety, be it the original, double-stuffed, or even a seasonal flavor.
- Chocolate Melts: Pick your choice of 10 ounces of chocolate. Whether it’s dark, white, or colored candy melts, this is what gives your Oreos a smooth, sweet coating.
- Decorations: Don’t forget the spooky touches! These include Halloween-themed sprinkles, candy eyes, or tiny decorative pumpkins to give each cookie its own character.
Optional Ingredients
Want to take these treats to the next level? Dive into these optional ingredients that can add a magical twist to your Halloween Oreos:
- Festive Sprinkles: A handful of Halloween sprinkles in vibrant colors can make a world of difference. Choose mixes that scream Halloween with bats, ghosts, and pumpkins.
- Edible Glitter: For a dash of sparkle, consider using edible glitter. Not only does it catch the eye, but it also adds an extra layer of fun.
- Seasonal Candy: Pick up some candy corn or mini peanut butter cups to nestle atop the chocolate for a sweet and festive flair.
Each of these ingredients comes together like pieces of a puzzle, creating a deliciously spooky treat that’s sure to impress. So, grab your mixing bowls and let the Halloween magic begin!
Instructions
Creating spooky chocolate-covered Oreos for Halloween is the perfect way to add a touch of fun to your spooky festivities. With just a bit of patience and creativity, these treats will surely be a hit at any celebration. Follow these steps to turn ordinary Oreos into eerie delights.
Preparing the Chocolate
Start by melting the chocolate. You can use either a microwave or a double boiler, depending on your preference.
- Microwave Method: Place your chocolate chips or chunks into a microwave-safe bowl. Heat the chocolate on medium power for about 30 seconds. Stir the chocolate, then continue heating in 15-second intervals, mixing each time, until it’s fully melted and smooth.
- Double Boiler Method: Fill the bottom section of a double boiler with a bit of water and bring it to a simmer. Place the chocolate in the top section, stirring steadily until it’s melted. Make sure water doesn’t touch the chocolate, as moisture can cause it to seize.
Dipping the Oreos
Once your chocolate is ready, it’s time for dipping. This step requires a gentle hand to ensure each Oreo is evenly coated.
- Hold the Oreo with a fork, gently lower it into the melted chocolate.
- Cover the Oreo completely with chocolate, using a spoon to help coat it if needed.
- Lift the Oreo out, tapping the fork gently on the edge of the bowl to let excess chocolate drip off.
Adding Decorations
Here comes the creativity! Decorate your Oreos while the chocolate is still wet, ensuring the toppings stick well.
- Sprinkles: Quickly sprinkle your choice of colorful or spooky-themed sprinkles over the wet chocolate.
- Candy Eyes or Other Toppings: Place candy eyeballs or festive decorations strategically to enhance the Halloween theme. Try using a toothpick to position small decorations for precision.
Setting the Oreos
Finally, allow your dipped Oreos to set so they’re ready to enjoy.
- Refrigerate: Place the Oreos on a parchment-lined tray and put it in the fridge. This will help the chocolate harden faster and prevent any smudges.
- Room Temperature: If you prefer, set them on your counter, away from direct heat, and allow the chocolate to firm naturally.
With these steps, your spooky Oreos will be ready to delight guests in no time. Remember, the key to success is taking your time and having fun with the process. Happy decorating!