Introduction
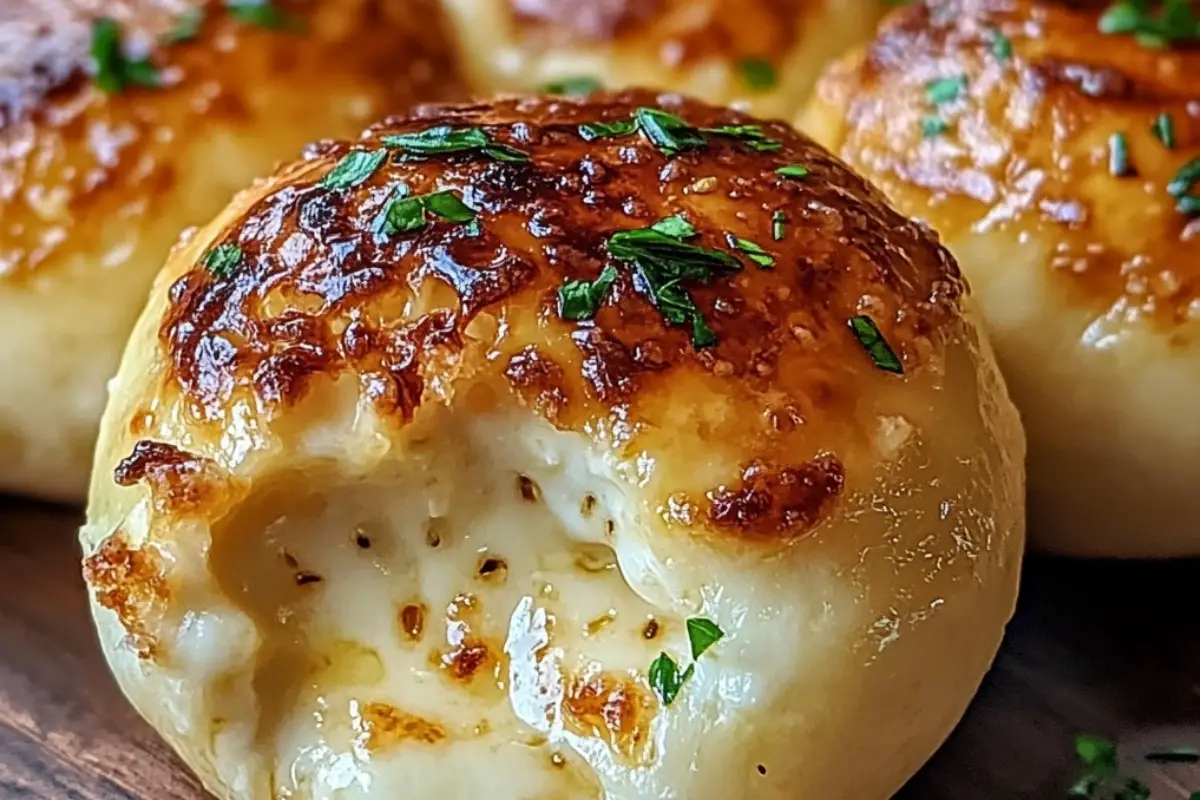
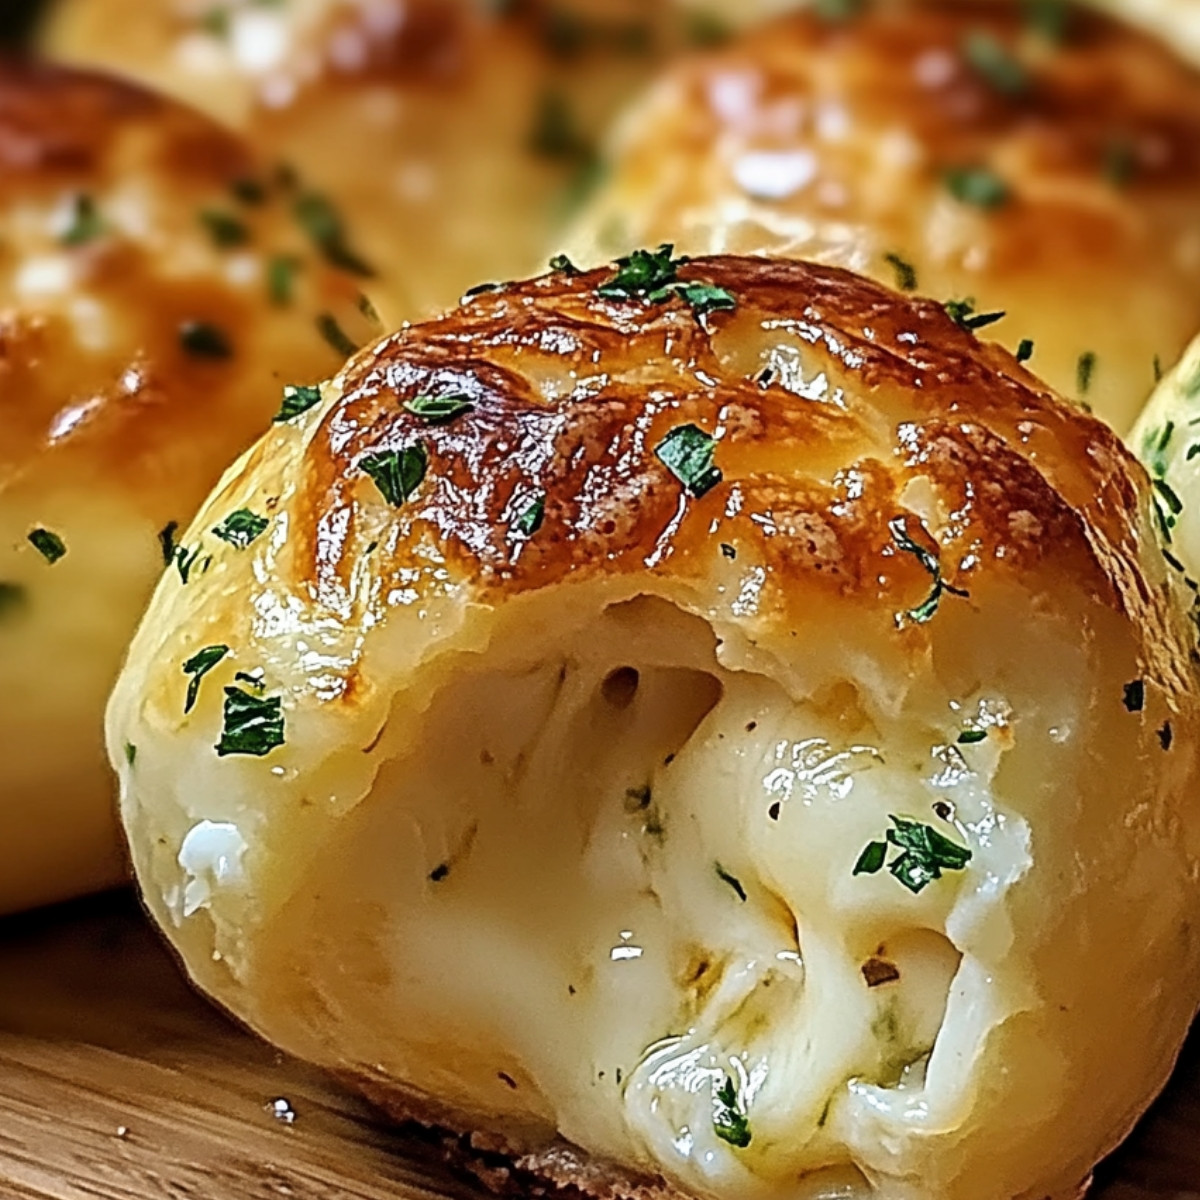
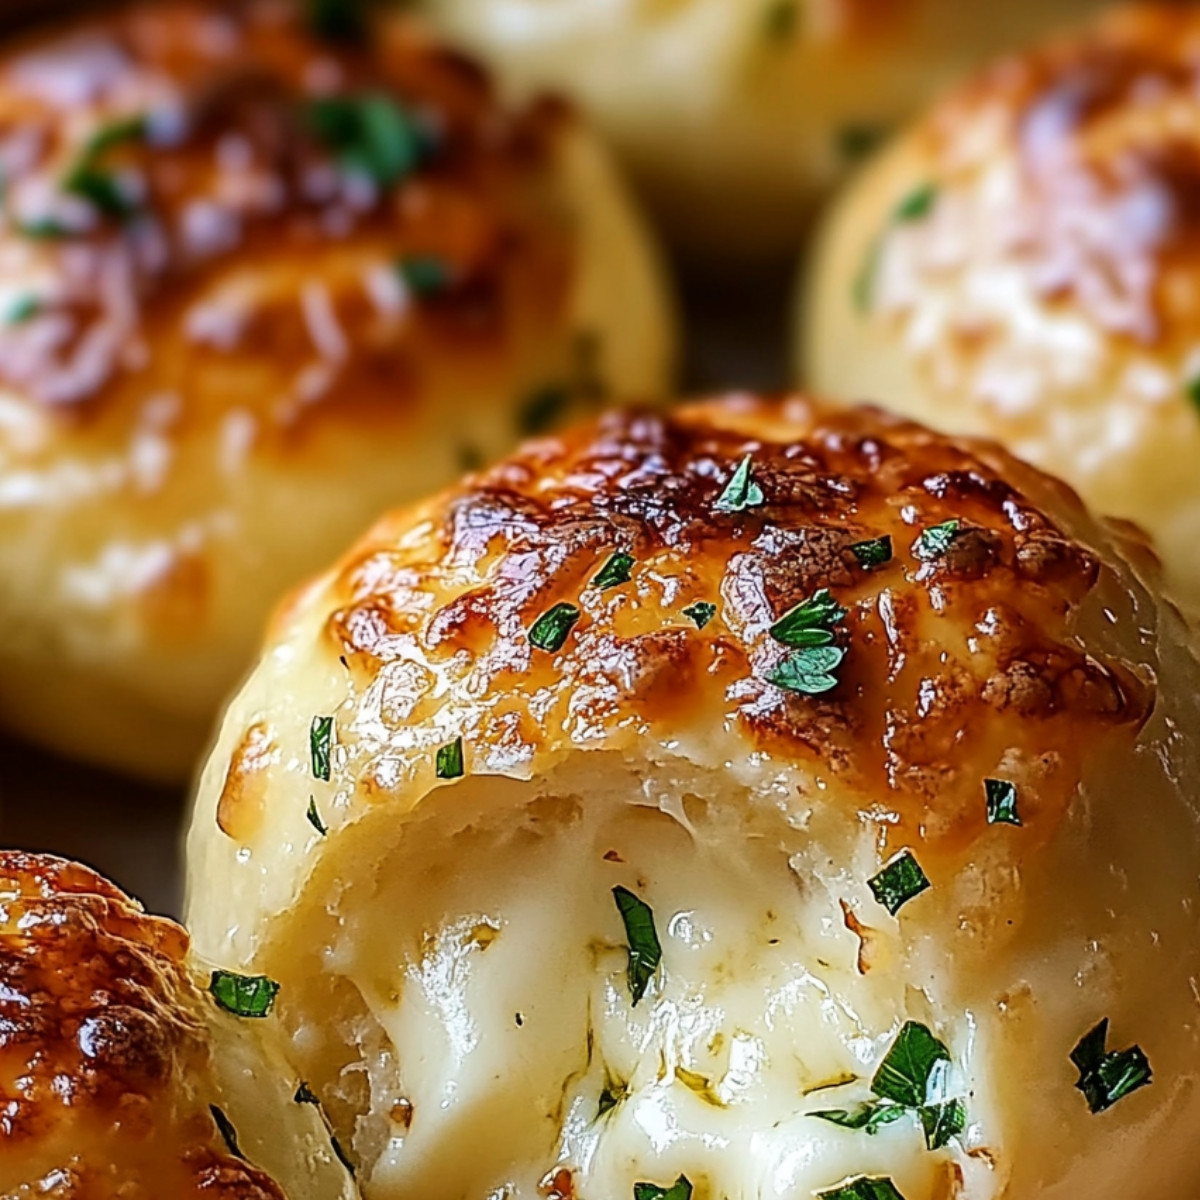
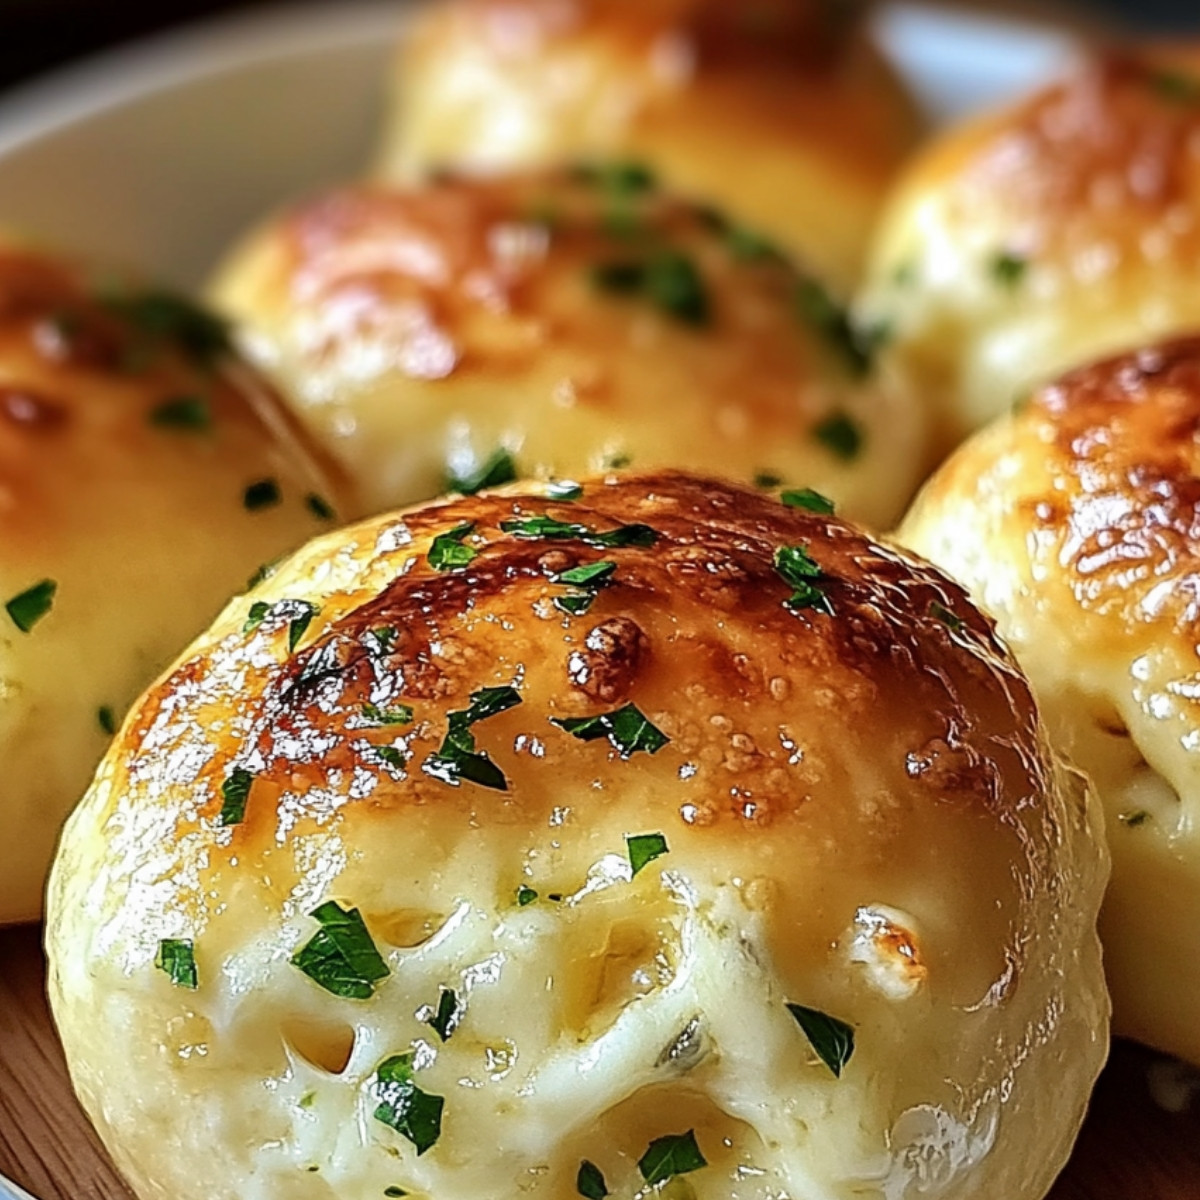
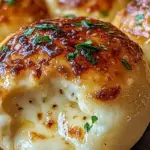
Gather ’round, cheese lovers! These Garlic Butter Cheese Bombs are about to rock your world! Flaky, cheesy, and oh-so-garlicky, these little bundles of joy make the perfect snack or appetizer. Ready to blow your taste buds away? Let’s get cooking!
Detailed Ingredients with Measures
- For the Bombs:
- 1 can (16 oz) of refrigerated Pillsbury Grands! Biscuits
- 8 oz mozzarella cheese, cut into cubes
- For the Garlic Butter:
- 1/4 cup unsalted butter, melted
- 3 garlic cloves, minced
- 1 tablespoon fresh parsley, chopped
- 1 teaspoon Italian seasoning
Preparation Time
- Prep Time: 10 minutes
- Cook Time: 15 minutes
- Total Time: 25 minutes
- Yield: 8 servings
Directions
1. Preheat your oven to 375°F (190°C). Line a baking sheet with parchment paper for an easy clean-up.
2. Pop open the biscuit can and separate the dough. Flatten each biscuit into a round, place a cheese cube in the center, and fold the dough around it to form a cute little ball. Make sure the seams are well pinched so the cheese stays put!
3. In a separate bowl, stir together melted butter, minced garlic, chopped parsley, and Italian seasoning. Brush this heavenly mix over each cheese-stuffed dough ball.
4. Place the cheesy creations on your prepared baking sheet. Pop them in the oven and bake for 10-15 minutes, or until they’re gloriously golden brown.
5. Let them cool for a minute (if you can wait!) and enjoy the melty, gooey goodness.
Nutritional Information (per bomb):
Calories: 160 kcal | Carbohydrates: 15g | Protein: 4g | Fat: 9g | Saturated Fat: 5g | Sodium: 300mg | Calcium: 6% DV
Pro Tip:
These babies are best enjoyed fresh out of the oven! Serve them at your next game day, dinner party, or just because, and watch them disappear!
#GarlicButterLove #CheesyGoodness #SnackAttack #EasyBakes #CheeseBombs #PartyPerfect
Detailed Directions and Instructions
Detailed Directions and Instructions
1. Preheat & Prep
Preheat your oven to 375°F (190°C). Line a baking sheet with parchment paper for an easy clean-up.
2. Assemble the Bombs
Pop open the biscuit can and separate the dough. Flatten each biscuit into a round, place a cheese cube in the center, and fold the dough around it to form a cute little ball. Make sure the seams are well pinched so the cheese stays put!
3. Butter ‘Em Up
In a separate bowl, stir together melted butter, minced garlic, chopped parsley, and Italian seasoning. Brush this heavenly mix over each cheese-stuffed dough ball.
4. Bake & Enjoy
Place the cheesy creations on your prepared baking sheet. Pop them in the oven and bake for 10-15 minutes, or until they’re gloriously golden brown.
5. Serve Up The Fun
Let them cool for a minute (if you can wait!) and enjoy the melty, gooey goodness.
Notes
Pro Tip
These babies are best enjoyed fresh out of the oven! Serve them at your next game day, dinner party, or just because, and watch them disappear!
Cook techniques
Cook Techniques
Preheating the Oven
Ensure your oven is fully preheated to 375°F (190°C) before placing the cheese bombs inside. This helps achieve that perfect golden brown texture.
Flattening the Biscuits
When preparing the dough, flatten each biscuit evenly. This creates a better surface area for wrapping around the cheese and helps with even cooking.
Sealing the Cheese
Pinch the seams of the dough tightly after wrapping the cheese cube. This prevents any of that gooey, melty cheese from escaping during baking.
Brushing with Garlic Butter
Generously brush the garlic butter mixture over each cheese bomb. This enhances flavor and adds a lovely golden finish.
Baking to Perfection
Monitor your garlic butter cheese bombs closely while baking. Aim for a dark golden brown color to ensure they are cooked through and the outer layer is crispy.
FAQ
Can I use a different type of cheese?
Absolutely! Feel free to experiment with different cheeses like cheddar, pepper jack, or even a blend for a unique taste.
How do I store leftovers?
Store any leftovers in an airtight container in the refrigerator for up to 2 days. Reheat in the oven for a few minutes to regain that crispy texture.
Can I freeze these cheese bombs?
Yes, you can freeze unbaked cheese bombs. Just prepare them, freeze for a couple of hours, and then transfer to a freezer bag. Bake from frozen, adding a few extra minutes to the cooking time.
What can I serve with these cheese bombs?
Garlic butter cheese bombs pair wonderfully with marinara sauce for dipping, or a fresh salad for a complete meal.
Conclusion
These Garlic Butter Cheese Bombs are a delightful treat that will satisfy any cheese lover’s cravings. They’re easy to make and perfect for any occasion, ensuring that you’ll be the star of your next gathering!
More Recipe Suggestions and Combinations
Cheesy Jalapeño Popper Bombs
Add some spice by incorporating diced jalapeños with your cheese filling for a flavorful kick.
Herbed Cream Cheese Bombs
Substituting mozzarella with herbed cream cheese can provide a rich and creamy alternative that is equally delicious.
Buffalo Chicken Cheese Bombs
Mix shredded cooked chicken with buffalo sauce and cheese for a hearty twist on the classic cheese bomb.
Dessert Cheese Bombs
For a sweet treat, fill the bomb with Nutella or chocolate chips, and sprinkle with powdered sugar once baked.
Garlic Butter Cheese Bombs
Gather ’round, cheese lovers! These Garlic Butter Cheese Bombs are about to rock your world! Flaky, cheesy, and oh-so-garlicky, these little bundles of joy make the perfect snack or appetizer. Ready to blow your taste buds away? Let’s get cooking!
- Prep Time: 10 minutes
- Cook Time: 15 minutes
- Total Time: 25 minutes
- Yield: 8 servings 1x
Ingredients
- For the Bombs:
- 1 can (16 oz) of refrigerated Pillsbury Grands! Biscuits
- 8 oz mozzarella cheese, cut into cubes
- For the Garlic Butter:
- 1/4 cup unsalted butter, melted
- 3 garlic cloves, minced
- 1 tablespoon fresh parsley, chopped
- 1 teaspoon Italian seasoning
Instructions
1. Preheat & Prep
Preheat your oven to 375°F (190°C). Line a baking sheet with parchment paper for an easy clean-up.
2. Assemble the Bombs
Pop open the biscuit can and separate the dough. Flatten each biscuit into a round, place a cheese cube in the center, and fold the dough around it to form a cute little ball. Make sure the seams are well pinched so the cheese stays put!
3. Butter ‘Em Up
In a separate bowl, stir together melted butter, minced garlic, chopped parsley, and Italian seasoning. Brush this heavenly mix over each cheese-stuffed dough ball.
4. Bake & Enjoy
Place the cheesy creations on your prepared baking sheet. Pop them in the oven and bake for 10-15 minutes, or until they’re gloriously golden brown.
5. Serve Up The Fun
Let them cool for a minute (if you can wait!) and enjoy the melty, gooey goodness.
Notes
Pro Tip
These babies are best enjoyed fresh out of the oven! Serve them at your next game day, dinner party, or just because, and watch them disappear!