Introduction
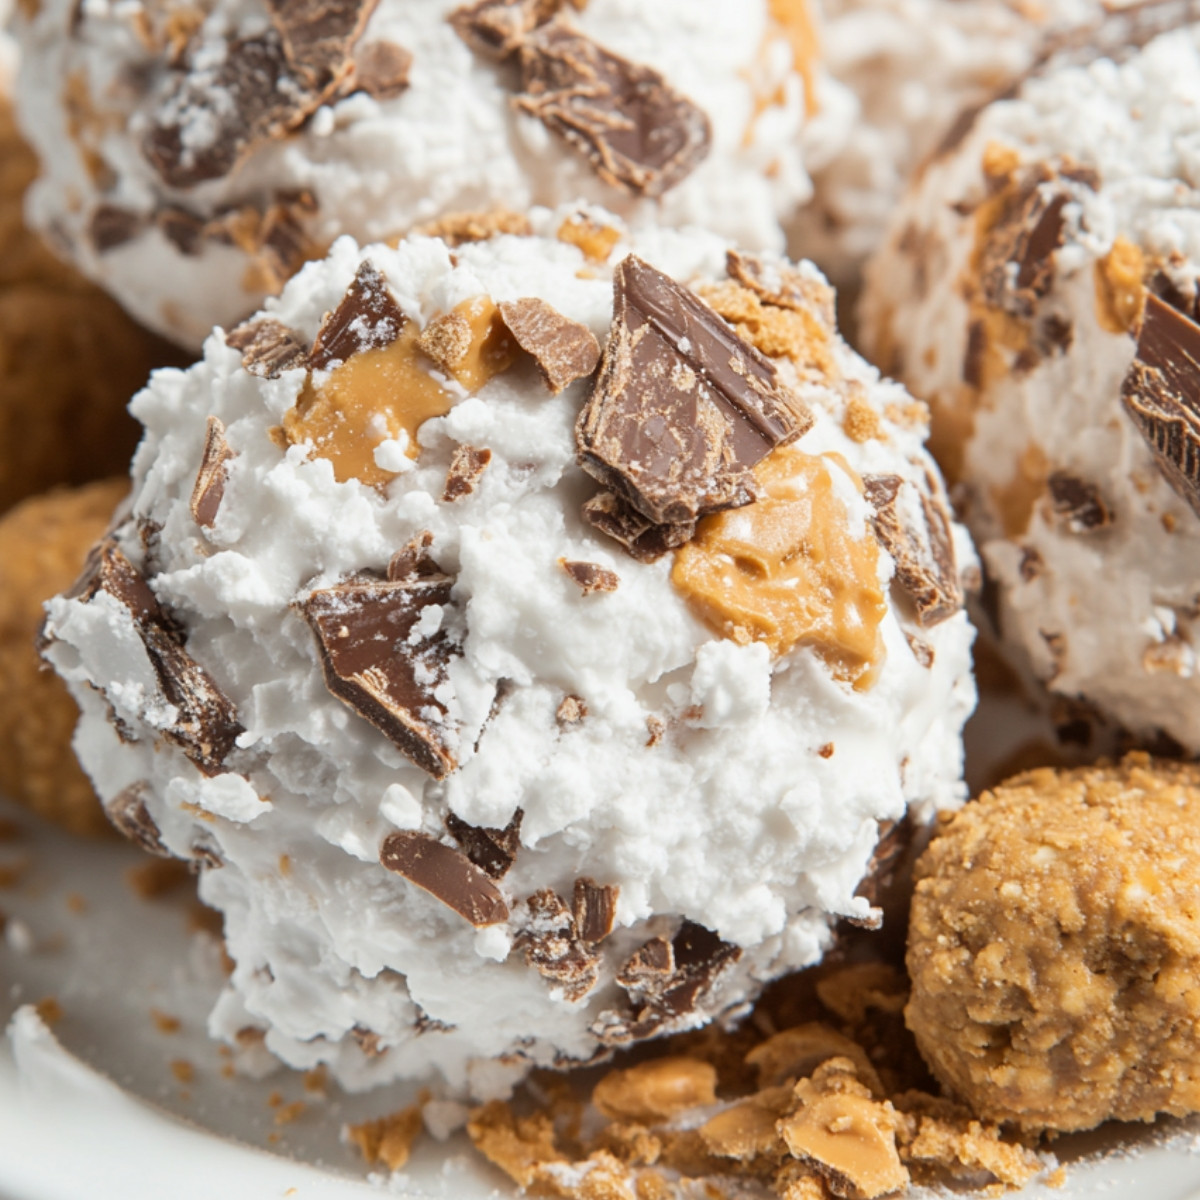
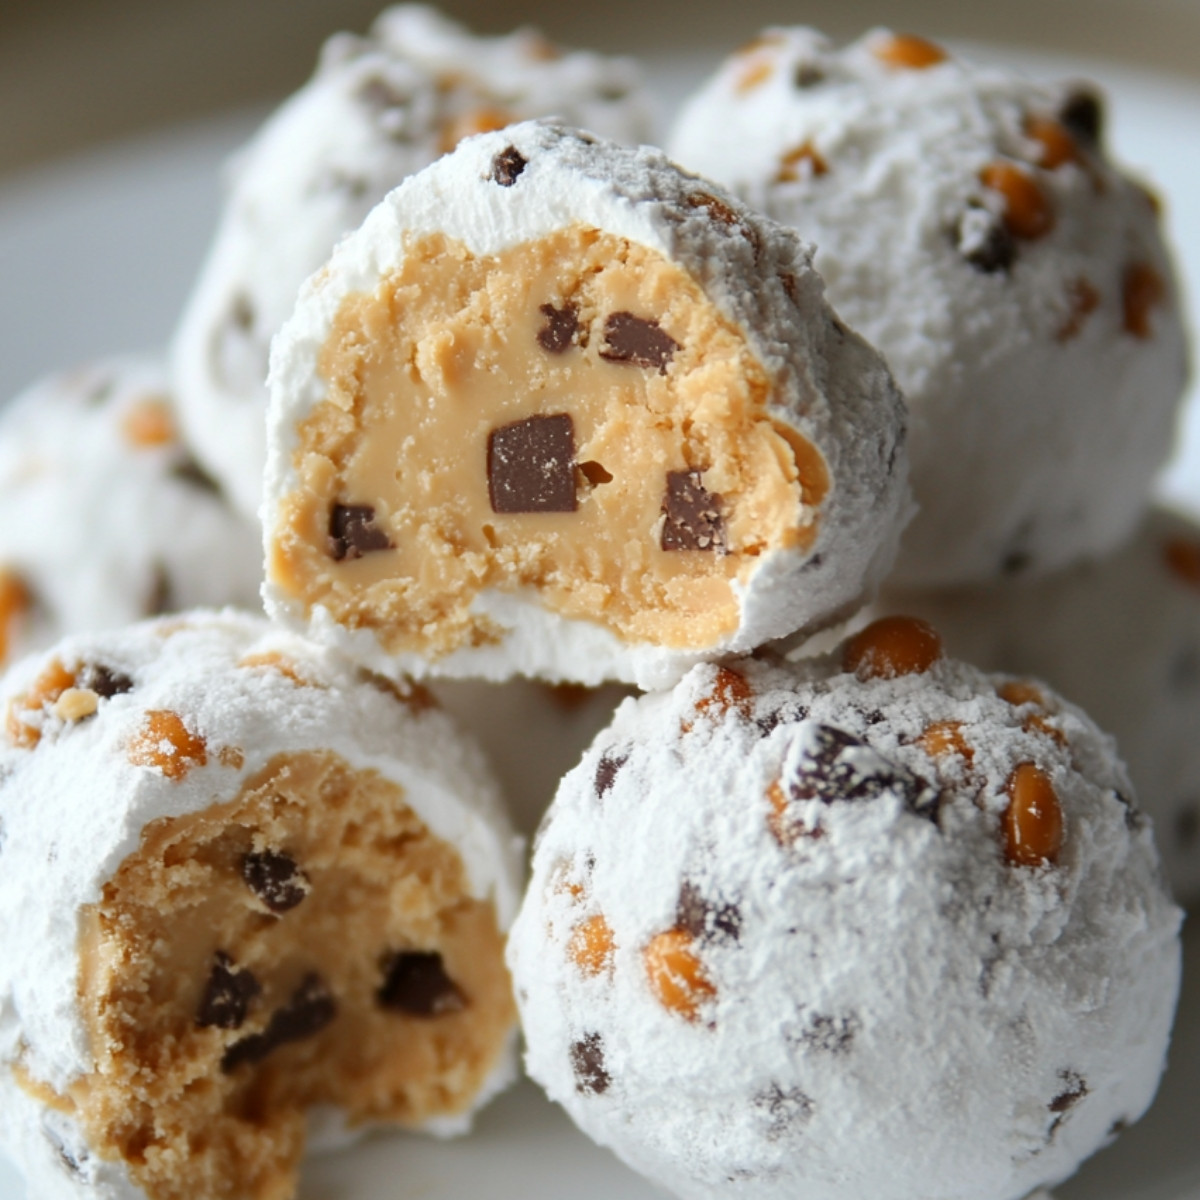
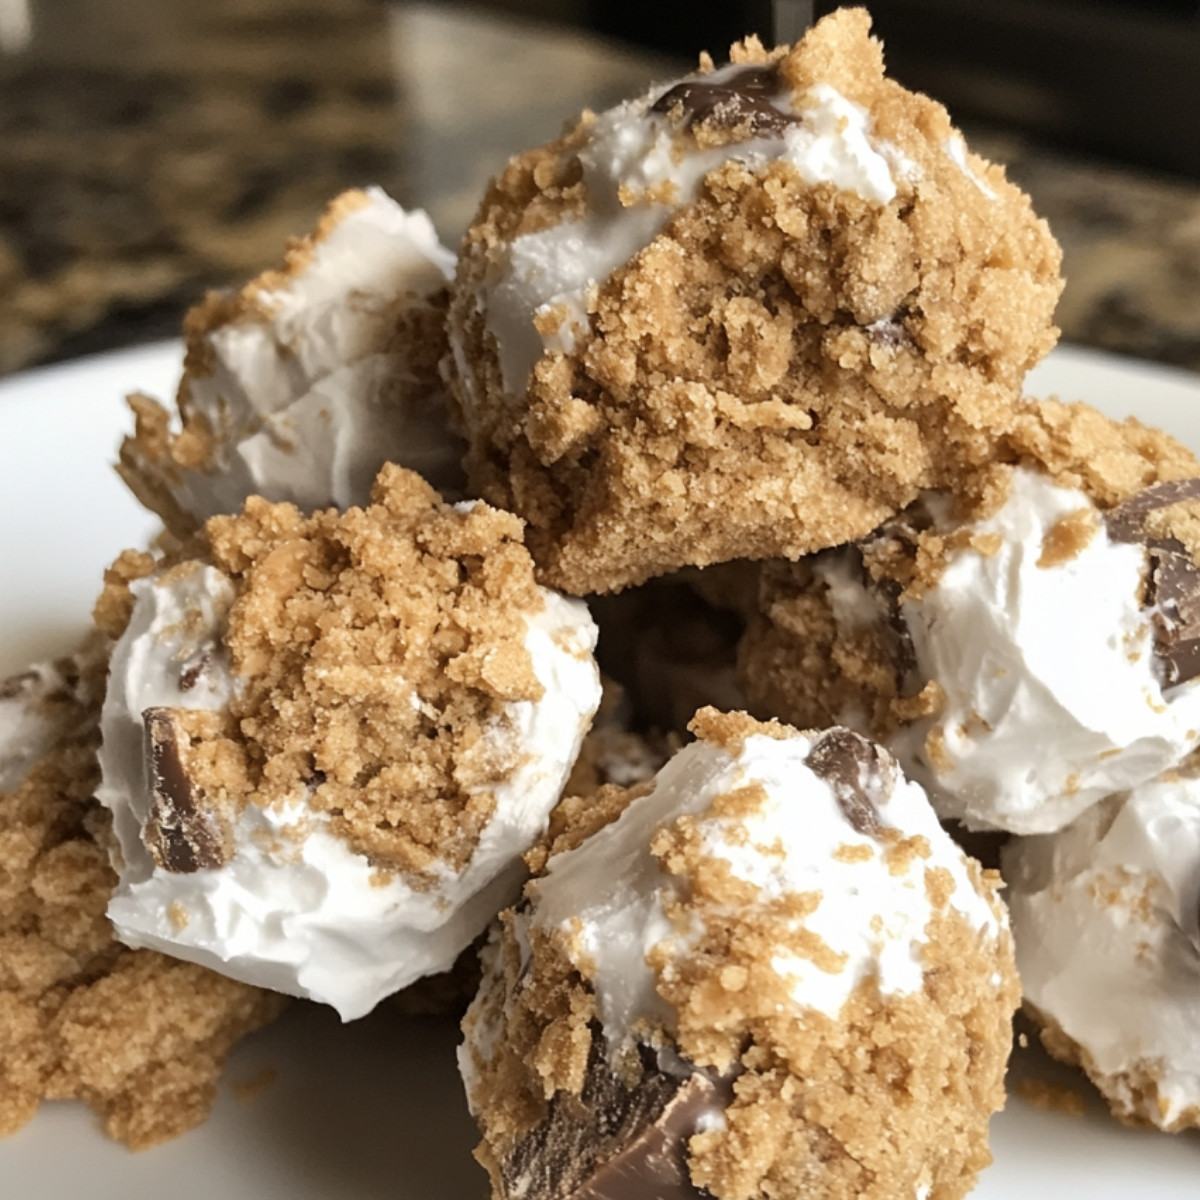
Get ready to satisfy your sweet tooth with these irresistible Butterfinger Balls! Perfect for parties, late-night snacks, or sharing with friends (if you feel like it). Crunchy, creamy, and loaded with chocolatey goodness, they’re bite-sized delights you won’t want to miss.
Detailed Ingredients with measures
For the Butterfinger Filling:
- 1 cup creamy peanut butter
- 1/4 cup unsalted butter, softened
- 2 cups powdered sugar
- 1 tsp vanilla extract
- 2 Butterfinger candy bars, crushed
For the Chocolate Coating:
- 12 oz semi-sweet chocolate chips
- 2 tbsp shortening
Preparation Time
- Prep Time: 15 minutes
- Cook Time: 5 minutes
- Total Time: 50 minutes (including chilling time)
- Yield: Approximately 20 Butterfinger Balls
Directions
1. In a large mixing bowl, blend together peanut butter, butter, powdered sugar, and vanilla extract until smooth and well combined. Here comes the yummy part: stir in the crushed Butterfinger candy bars until they’re evenly distributed throughout the dough.
2. Roll the mixture into 1-inch balls and place them on a baking sheet lined with parchment paper. Pop them in the refrigerator for about 30 minutes, or until they firm up nicely.
3. While the balls are chilling, melt the chocolate chips and shortening together in a microwave-safe bowl, stirring every 30 seconds until smooth and silky.
4. Using a fork or a toothpick, dip each chilled ball into the melted chocolate, making sure it’s fully coated. Let the excess chocolate drip off, then return each ball to the baking sheet.
5. Let them chill again in the fridge until the chocolate has set. Voila! Your Butterfinger Balls are ready to enjoy.
Nutritional Information
Each Butterfinger Ball contains:
Calories: 120 kcal
Carbohydrates: 14g
Protein: 2g
Fat: 7g
Sugar: 10g

Detailed Directions and Instructions
Step 1: Prepare the Filling
In a large mixing bowl, blend together creamy peanut butter, softened unsalted butter, powdered sugar, and vanilla extract until smooth and well combined. Stir in the crushed Butterfinger candy bars until they are evenly distributed throughout the mixture.
Step 2: Form the Balls
Roll the filling mixture into 1-inch balls and place them on a baking sheet lined with parchment paper. Refrigerate for about 30 minutes, or until they firm up nicely.
Step 3: Melt the Chocolate Coating
While the balls are chilling, melt the semi-sweet chocolate chips and shortening together in a microwave-safe bowl. Stir every 30 seconds until the mixture is smooth and silky.
Step 4: Coat the Balls
Using a fork or a toothpick, dip each chilled ball into the melted chocolate, ensuring it is fully coated. Allow the excess chocolate to drip off before returning each ball to the baking sheet.
Step 5: Set the Chocolate
Place the coated balls back in the fridge and chill until the chocolate has set completely. Your Butterfinger Balls are now ready to enjoy!
Notes
Serving Suggestions
These Butterfinger Balls are perfect for parties, late-night snacks, or as a sweet treat for sharing with friends.
Storage Tips
Store the Butterfinger Balls in an airtight container in the refrigerator to keep them fresh and delicious.
Variation Ideas
Feel free to experiment with different chocolate coatings, such as milk chocolate or dark chocolate, for a different flavor experience.

Cook techniques
Mixing the Filling
Combine the peanut butter, butter, powdered sugar, and vanilla extract thoroughly to ensure a smooth and creamy consistency, which is essential for the overall texture of the Butterfinger Balls.
Incorporating Candy Bars
When adding crushed Butterfinger candy bars to the mixture, mix gently to evenly distribute the pieces without overworking the dough, maintaining the chocolatey crunch.
Chilling the Balls
Chill the rolled balls in the refrigerator for at least 30 minutes. This step is crucial for firming up the mixture and making it easier to coat in chocolate.
Melted Chocolate Coating
Melt the chocolate chips with shortening in a microwave-safe bowl, stirring every 30 seconds. This method helps to achieve a smooth coating without burning the chocolate.
Dipping Technique
Using a fork or toothpick for dipping allows for a more controlled coating process. Make sure to let excess chocolate drip off to avoid a thick layer that can be unwieldy.
Setting the Chocolate
After coating, return the balls to the baking sheet and chill again until the chocolate is fully set, ensuring a clean and professional finish.
FAQ
Can I use crunchy peanut butter instead of creamy?
Yes, crunchy peanut butter can be used for added texture, but it may alter the smoothness of the filling.
What can I substitute for shortening?
You can use coconut oil or additional chocolate if you prefer not to use shortening, but keep in mind that it may change the consistency of the chocolate coating.
How should I store Butterfinger Balls?
Store them in an airtight container in the refrigerator for up to a week for best freshness.
Can I freeze these treats?
Yes, Butterfinger Balls can be frozen. Place them in a single layer in a freezer-safe container for up to 3 months. Let them thaw in the refrigerator before serving.
What other candies can I use?
Feel free to experiment with other crushed candy bars or even mix-ins like sprinkles, to create your unique version of this treat.
Conclusion
Indulging in Butterfinger Balls is a delightful experience, whether for a gathering or a personal treat. These techniques and tips will ensure your sweet creation turns out perfectly every time. Enjoy!

Butterfinger Balls
Get ready to satisfy your sweet tooth with these irresistible Butterfinger Balls! Perfect for parties, late-night snacks, or sharing with friends (if you feel like it). Crunchy, creamy, and loaded with chocolatey goodness, they’re bite-sized delights you won’t want to miss.
- Prep Time: 15 minutes
- Cook Time: 5 minutes
- Total Time: 50 minutes (including chilling time)
- Yield: Approximately 20 Butterfinger Balls 1x
Ingredients
For the Butterfinger Filling:
- 1 cup creamy peanut butter
- 1/4 cup unsalted butter, softened
- 2 cups powdered sugar
- 1 tsp vanilla extract
- 2 Butterfinger candy bars, crushed
For the Chocolate Coating:
- 12 oz semi-sweet chocolate chips
- 2 tbsp shortening
Instructions
Step 1: Prepare the Filling
In a large mixing bowl, blend together creamy peanut butter, softened unsalted butter, powdered sugar, and vanilla extract until smooth and well combined. Stir in the crushed Butterfinger candy bars until they are evenly distributed throughout the mixture.
Step 2: Form the Balls
Roll the filling mixture into 1-inch balls and place them on a baking sheet lined with parchment paper. Refrigerate for about 30 minutes, or until they firm up nicely.
Step 3: Melt the Chocolate Coating
While the balls are chilling, melt the semi-sweet chocolate chips and shortening together in a microwave-safe bowl. Stir every 30 seconds until the mixture is smooth and silky.
Step 4: Coat the Balls
Using a fork or a toothpick, dip each chilled ball into the melted chocolate, ensuring it is fully coated. Allow the excess chocolate to drip off before returning each ball to the baking sheet.
Step 5: Set the Chocolate
Place the coated balls back in the fridge and chill until the chocolate has set completely. Your Butterfinger Balls are now ready to enjoy!
Notes
Serving Suggestions
These Butterfinger Balls are perfect for parties, late-night snacks, or as a sweet treat for sharing with friends.
Storage Tips
Store the Butterfinger Balls in an airtight container in the refrigerator to keep them fresh and delicious.
Variation Ideas
Feel free to experiment with different chocolate coatings, such as milk chocolate or dark chocolate, for a different flavor experience.


