Introduction
There’s something about Easter that brings to mind feelings of warmth, joy, and togetherness. Picture a sunny spring afternoon, surrounded by loved ones, and the sweet aroma of baked goods wafting through the air. The Easter Swirl Pie not only adds sweetness to your holiday table but also enhances those precious moments spent with family and friends. As you slice into this delightful pie, vibrant colors and tempting flavors swirl together, creating not just a dessert, but a memory that you will cherish for years to come.
Now, think about the gatherings and laughter that will accompany this treat. The smiles of children enjoying the colorful slices, the conversation that flows over the shared experience of baking, and the satisfaction of presenting a dessert that looks as good as it tastes. The Easter Swirl Pie is an invitation to connect, indulge, and celebrate life’s beautiful moments with those you hold dear. It’s more than just a recipe; it’s a way to bring sweetness into your Easter celebrations.
Detailed Ingredients
- 1 pre-made pie crust
- 1 cup cream cheese, softened
- 1/2 cup sugar
- 1 teaspoon vanilla extract
- 4 large eggs
- 1/2 cup sour cream
- 1 cup whipped cream
- 1/2 cup food coloring (multiple colors)
Preparation Time
- Prep Time: 20 minutes
- Cook Time: 45 minutes
- Total Time: 1 hour 5 minutes
- Yield: 8 servings
Why we love this recipe
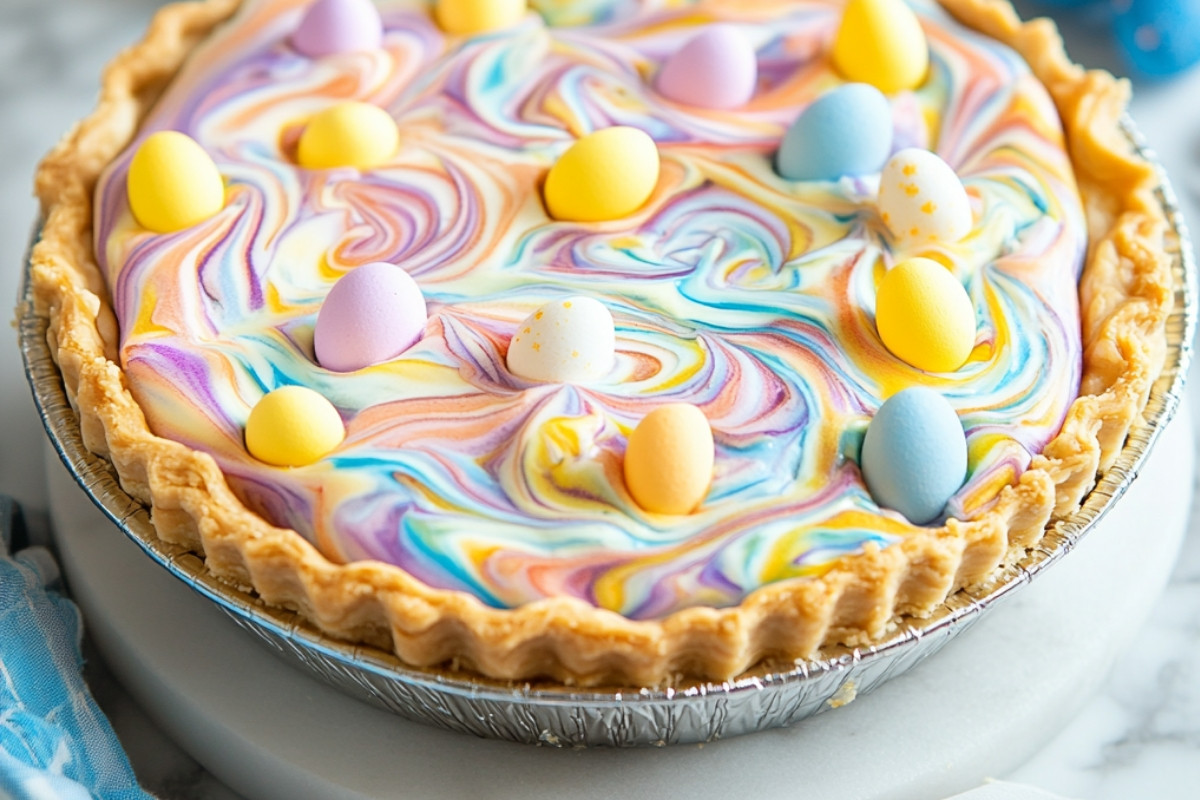
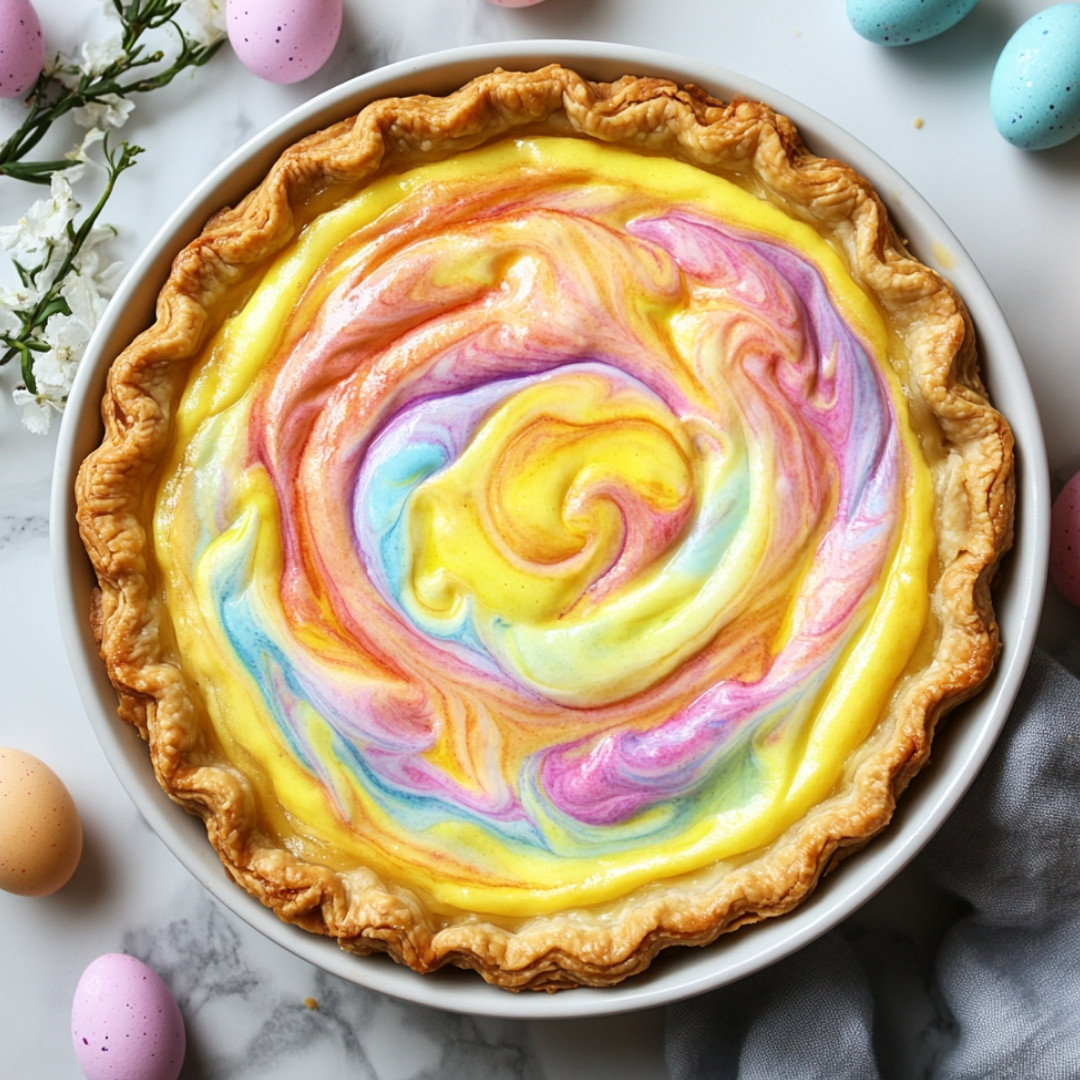
The Easter Swirl Pie is a feast for the eyes and the palate. The colorful swirls of creamy filling create a stunning presentation that’s perfect for any Easter gathering. When slicing into it, you’ll see the vibrant hues dance together, inviting everyone to take a bite. The creamy texture contrasts beautifully with the flaky crust, making for a delightful culinary experience.
Moreover, the ease of preparation allows you to focus more on what truly matters – spending quality time with your loved ones. This pie not only satisfies your sweet tooth but also brings a sense of accomplishment. It’s a reminder that sometimes, the best moments come from simple pleasures shared during special occasions. Enjoy the blend of flavors and the love that goes into every slice!
Detailed Directions and Instructions
Step 1: Preheat the Oven
Begin your culinary journey by preheating your oven to 350°F (175°C). This crucial step ensures your pie bakes perfectly, allowing the delightful aromas to fill your kitchen as it cooks. Take a moment to breathe in the anticipation of what’s to come!
Step 2: Prepare the Pie Crust
Unroll your ready-made pie crust into a 9-inch pie dish, ensuring it fits snugly against the sides. Gently press the crust down and along the edges to eliminate any air pockets. This is where the magic begins—creating a sturdy base for your swirl pie. Don’t hesitate to crimp the edges beautifully for an eye-catching finish!
Step 3: Make the Filling
In a medium-sized mixing bowl, combine cream cheese, powdered sugar, vanilla extract, and eggs. Start by softening your cream cheese to make mixing a breeze. Whisk this heavenly mixture until it becomes smooth and creamy, with all the ingredients harmoniously blending together. This is the heart of your pie, so take pride in creating that creamy bliss!
Step 4: Divide the Mixture
Next, divide your delicious cream cheese mixture in half. In one of the divided portions, stir in food coloring—vibrant colors like blue, pink, or yellow will make your pie a visual treat! The other half remains plain and ready to harmonize with the colorful portion. Channel your inner artist as you decide on your color palette for an Easter masterpiece!
Step 5: Layer the Mixtures
Now comes the fun part! Spoon dollops of each mixture into your prepared pie crust. Alternate between the colorful mixture and the plain mixture to create a marbled effect. Use a knife or a skewer to swirl the mixtures gently. Don’t rush—this is your chance to create a stunning design that will impress all who see it!
Step 6: Bake the Pie
Place the assembled pie into your preheated oven. Bake for 30-35 minutes, or until the center is set and the top is lightly golden. Keep an eye on it, as the scents will start to entice you! As it bakes, consider how you will present this stunning creation to your loved ones.
Step 7: Cool and Serve
Once baked, remove the pie from the oven and allow it to cool for at least one hour. This cooling period lets the flavors meld beautifully, and it’s your chance to catch your breath and prepare for the tasting festivities. Serve chilled for a refreshing treat that is perfect for any occasion!
Notes
Note 1: Use Room Temperature Ingredients
For a smoother filling, ensure your cream cheese and eggs are at room temperature. This little tip will make mixing a whole lot easier and result in a creamier texture.
Note 2: Customize Your Colors
Feel free to let your imagination run wild with colors! This pie is not only delicious but can also be a canvas for your creativity. Consider using natural food dyes for a fun twist!
Note 3: Storage
If you have leftovers (though we doubt there will be any!), this pie can be stored covered in the fridge for up to 5 days. Just make sure it’s sealed tight to preserve that creamy deliciousness.
Why Swirl Pies are a Must for Celebrations
Swirl pies are more than just dessert; they’re a celebration of color, flavor, and creativity. These visually stunning pies can turn any gathering into a festive affair. Whether it’s Easter or just a sunny spring afternoon, these pies bring joy and laughter to any table.
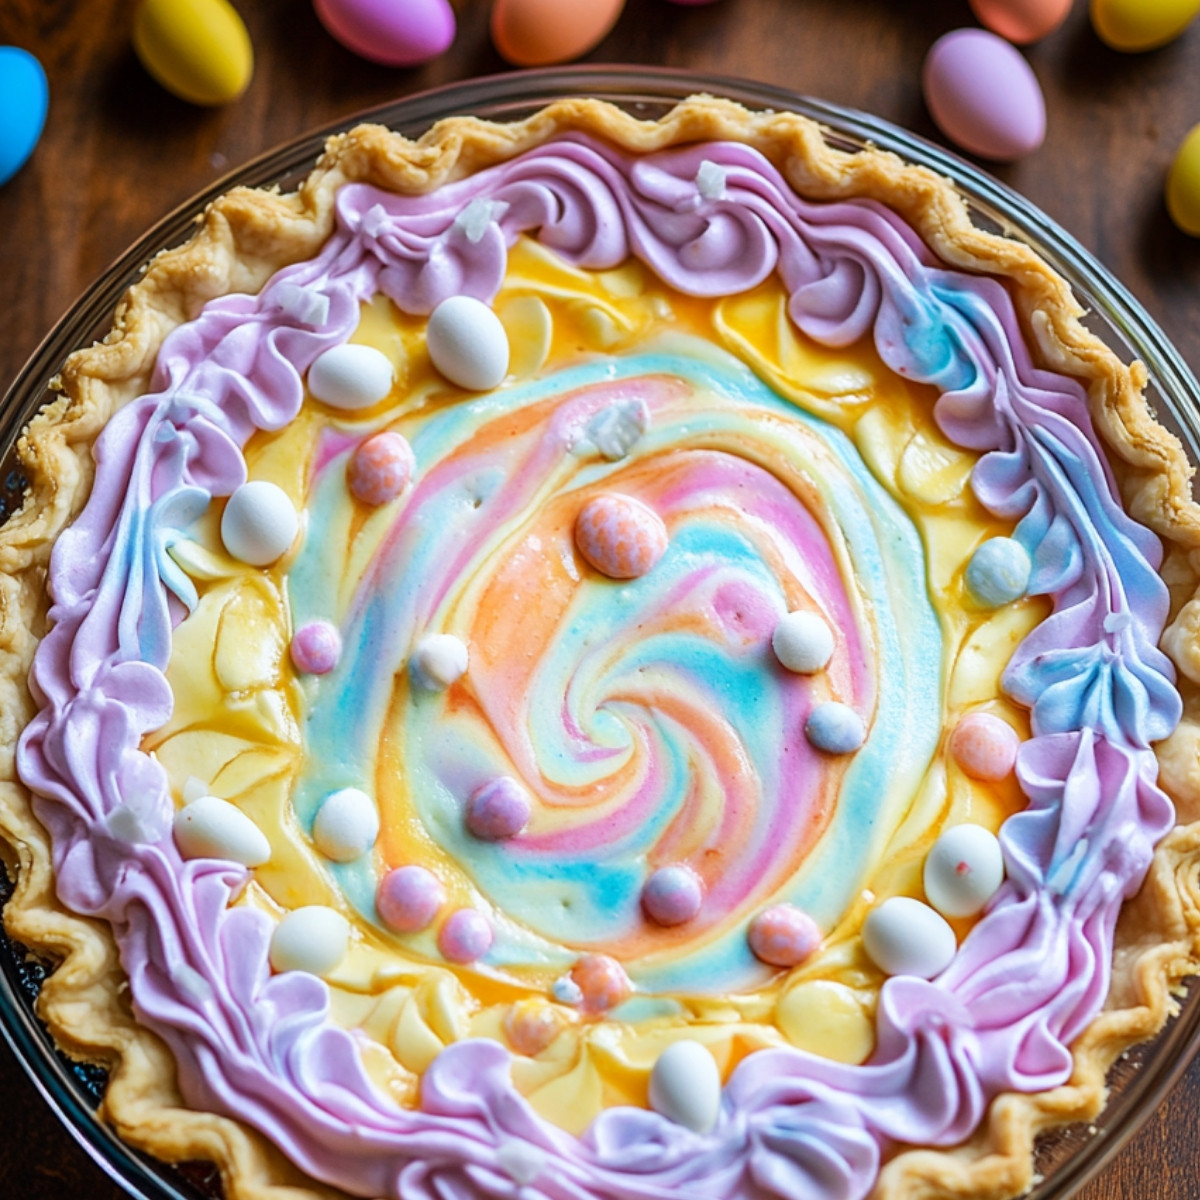
Get Creative with Your Toppings
Once you’ve created your masterpiece, think about how to enhance its beauty! A sprinkle of colorful sprinkles, edible glitter, or fresh fruits like berries can make your pie even more enticing. Let your culinary imagination shine as you customize it to fit the occasion!
Sharing the Joy of Baking
Baking is a delightful experience best shared with friends and family. Invite loved ones into the kitchen as you create this swirl pie together. Not only will it solidify cherished memories, but it may also inspire others to unleash their inner bakers. Enjoy every moment—it’s not just about the pie, but the joy of creating it!
Cook techniques
Prepare the Crust
Creating a flaky crust is crucial for a successful pie. Ensure your ingredients are cold and handle the dough minimally to prevent toughening.
Swirling the Filling
To achieve a beautiful swirl, drop spoonfuls of the filling into the crust. Use a skewer or knife to gently swirl the fillings together without fully mixing them.
Baking Temperature
Baking at the right temperature is essential. Start at a higher temperature to set the crust, and then lower it to ensure the filling cooks evenly.
Cooling Properly
Allow the pie to cool completely before slicing. This helps the filling set and makes for cleaner slices.
Serving and Presentation Ideas
To serve the Easter swirl pie, consider garnishing with whipped cream or fresh berries for a pop of color. Pair it with a scoop of vanilla ice cream for a delightful contrast of temperature. Arrange slices on a decorative platter and sprinkle with powdered sugar for a festive touch.
People Also Ask:
Why is it called Easter pie?
Easter pie is traditionally made to celebrate the Easter holiday, incorporating seasonal ingredients and often symbolizing rebirth and renewal.
How to reheat Easter pie?
Reheat the pie in the oven at 350°F (175°C) for about 10-15 minutes until warmed through, ensuring the crust remains crispy.
How do you reheat a pie without drying it out?
Cover the pie loosely with aluminum foil while reheating to retain moisture and prevent the crust from becoming dry.
Do you eat Easter pie hot or cold?
Easter pie can be enjoyed either hot or cold, depending on personal preference. Many people enjoy it at room temperature.
Should I reheat pie in oven or microwave?
The oven is preferred for reheating pie, as it maintains the crust’s texture better than the microwave, which can make it soggy.
Conclusion
The Easter swirl pie is more than just a dessert; it embodies the joy of springtime gatherings and family traditions. Each slice tells a story of celebration and togetherness, making it a perfect addition to your holiday table. As you share this delightful pie with loved ones, remember to savor not only the flavors but the memories created together. What unique twists have you added to your Easter pie tradition? We would love to hear your stories and variations!
Blog FAQ
Can I use a different type of crust for the pie?
Yes, you can experiment with different crust types such as graham cracker, almond flour, or even a gluten-free option to suit dietary needs.
How long can I store the Easter swirl pie?
The pie can be stored in the refrigerator for up to 3-4 days. Make sure to cover it to maintain its freshness.
Can I freeze the Easter swirl pie?
Yes, this pie freezes well. Wrap it tightly in plastic wrap and aluminum foil to prevent freezer burn and store it for up to 2 months.
What can I pair with the pie for a full meal?
Consider pairing the pie with a light salad or an Easter brunch spread that includes quiche, fresh fruit, and pastries for a well-rounded meal.
Are there any variations I can make with the filling?
Absolutely! You can use different fruits, incorporate chocolate, or even add spices like cinnamon or nutmeg for a unique twist to the traditional filling.
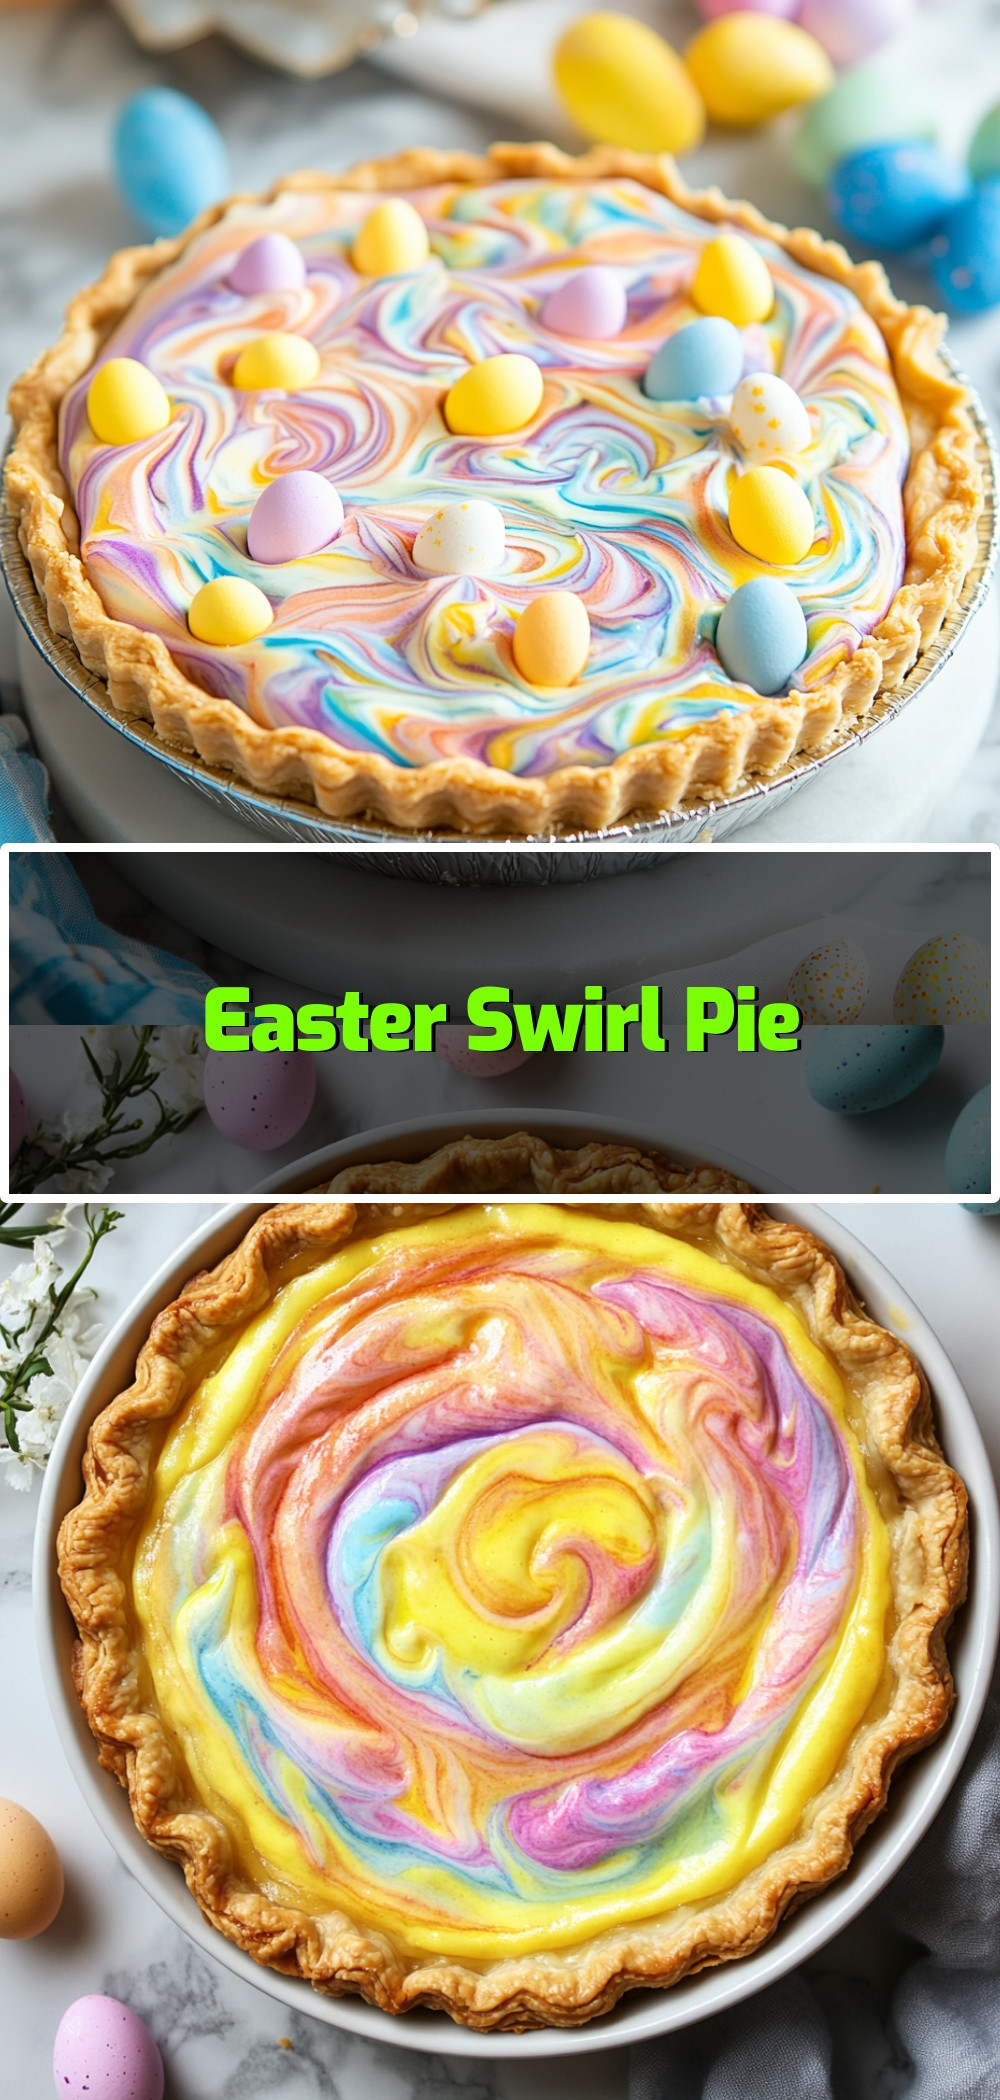
Easter Swirl Pie
- Total Time: 1 hour 5 minutes
- Yield: 8 servings
Description
Discover the delightful world of Easter Swirl Pie in this festive recipe that is perfect for celebrating the season. This eye-catching dessert combines vibrant colors and delicious flavors that are sure to impress your family and friends. With easy-to-follow steps, you can create your own stunning Easter Swirl Pie that looks as good as it tastes. Click through now to explore the full recipe and start your baking adventure. Perfect for holiday gatherings, this pie is a must-try treat that will be the star of your Easter table.
Ingredients
– 250g plain flour
– 125g cold butter, diced
– 1 large egg
– 50g caster sugar
– 1 tablespoon cold water
– 400g fresh curd cheese
– 3 large eggs
– 1 teaspoon vanilla extract
– 150g caster sugar
– 100g sour cream
– 50g raisins
– 200g poppy seeds
– 150g butter
– 150g caster sugar
– 2 tablespoons honey
Instructions
Step 1 Preheat the Oven
Begin your culinary journey by preheating your oven to 350°F 175°C This crucial step ensures your pie bakes perfectly, allowing the delightful aromas to fill your kitchen as it cooks Take a moment to breathe in the anticipation of what’s to come
Step 2 Prepare the Pie Crust
Unroll your ready made pie crust into a 9 inch pie dish, ensuring it fits snugly against the sides Gently press the crust down and along the edges to eliminate any air pockets This is where the magic begins creating a sturdy base for your swirl pie Don’t hesitate to crimp the edges beautifully for an eye catching finish
Step 3 Make the Filling
In a medium sized mixing bowl, combine cream cheese, powdered sugar, vanilla extract, and eggs Start by softening your cream cheese to make mixing a breeze Whisk this heavenly mixture until it becomes smooth and creamy, with all the ingredients harmoniously blending together This is the heart of your pie, so take pride in creating that creamy bliss
Step 4 Divide the Mixture
Next, divide your delicious cream cheese mixture in half In one of the divided portions, stir in food coloring vibrant colors like blue, pink, or yellow will make your pie a visual treat The other half remains plain and ready to harmonize with the colorful portion Channel your inner artist as you decide on your color palette for an Easter masterpiece
Step 5 Layer the Mixtures
Now comes the fun part Spoon dollops of each mixture into your prepared pie crust Alternate between the colorful mixture and the plain mixture to create a marbled effect Use a knife or a skewer to swirl the mixtures gently Don’t rush this is your chance to create a stunning design that will impress all who see it
Step 6 Bake the Pie
Place the assembled pie into your preheated oven Bake for 30 35 minutes, or until the center is set and the top is lightly golden Keep an eye on it, as
Notes
Note 1: Use Room Temperature Ingredients
For a smoother filling, ensure your cream cheese and eggs are at room temperature. This little tip will make mixing a whole lot easier and result in a creamier texture.
Note 2: Customize Your Colors
Feel free to let your imagination run wild with colors! This pie is not only delicious but can also be a canvas for your creativity. Consider using natural food dyes for a fun twist!
Note 3: Storage
If you have leftovers (though we doubt there will be any!), this pie can be stored covered in the fridge for up to 5 days. Just make sure it’s sealed tight to preserve that creamy deliciousness.
- Prep Time: 20 minutes
- Cook Time: 45 minutes
Keywords:Cheesecake