Introduction
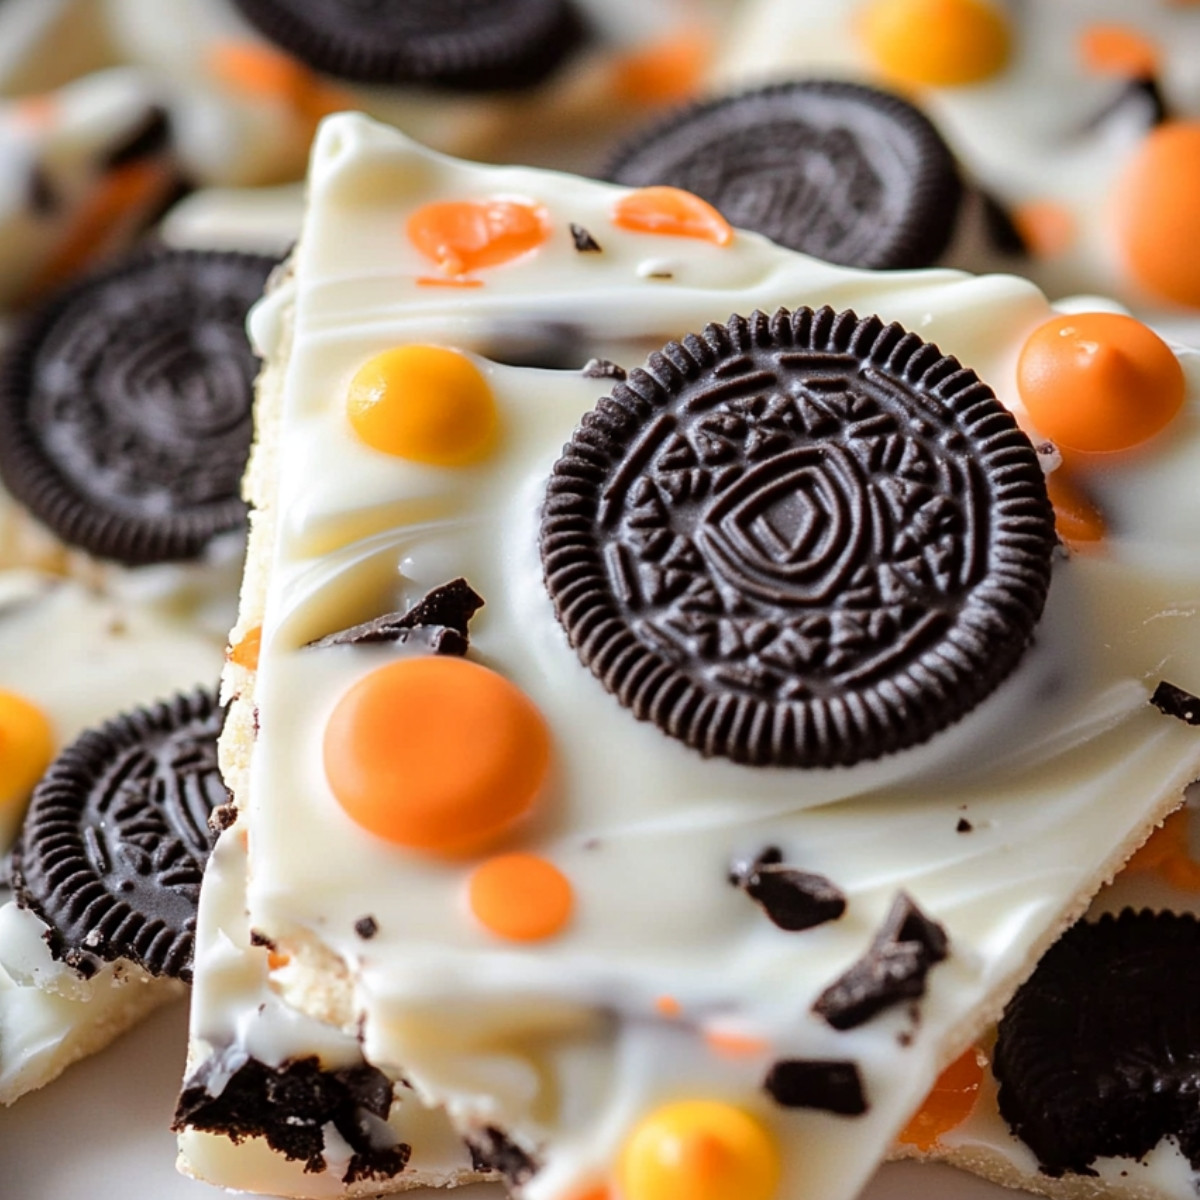
Ready to add a sweet twist to your Halloween treats? Meet the White Chocolate Halloween Oreo Bark – a simple, spooky, and oh-so-delicious delight! Combining creamy white chocolate with crunchy Oreos and a sprinkle of festive fun, this treat is perfect for both kids’ parties and adult snacking. No need for a cauldron or magic spells here; just a quick trip to the kitchen and you’ll have a crowd-pleaser that’s bound to disappear before the night ends. Let’s get some candy-crafting underway and embrace Halloween’s playful spirit!
The Magic of White Chocolate
White chocolate is like the magic wand of the candy world. It often dazzles and transforms ordinary treats into extraordinary delights. But what exactly is white chocolate, and why is it the perfect choice for Halloween treats?
What is White Chocolate?
White chocolate might look different, but it’s just as delicious as its darker cousins. So, what makes white chocolate, well, white? Unlike milk or dark chocolate, white chocolate doesn’t contain cocoa solids. Instead, it’s made from cocoa butter, sugar, and milk solids.
- Cocoa Butter: This gives white chocolate its creamy texture and rich mouthfeel. It lacks the cocoa solids that give traditional chocolate its brown color and deep flavor.
- Sugar: Adds sweetness that is more pronounced than in dark chocolate varieties.
- Milk Solids: Contribute to the smooth, velvety texture.
These ingredients combine to create a sweet treat that melts in your mouth like magic. Its taste profile is creamy, sweet, and subtly buttery, making it versatile and irresistible.
Why Use White Chocolate for Halloween Treats?
Picture this: a plate full of ghostly goodies and spiderweb sweets. White chocolate makes it all possible! When you’re aiming to create a spooky, festive snack, the aesthetic appeal of white chocolate is unmatched.
- Aesthetic Appeal: Its white color provides a perfect canvas for Halloween creativity. It pairs beautifully with vibrant colors like orange and black, allowing you to add a pop of festive flair.
- Versatility: White chocolate is like a blank slate for flavors. It pairs wonderfully with everything from tangy cranberries to crunchy nuts and salty pretzels, making it ideal for crafting unique Halloween treats.
- Sweetness Balancer: The rich, creamy sweetness of white chocolate can balance out bold, unfamiliar flavors. It’s like the peacekeeper at a Halloween flavor party.
Using white chocolate in your Halloween treats isn’t just about taste; it’s about creating an experience. Do you want a touch of elegance in your creepy crawlies and ghoulish goodies? White chocolate has your back, ready to transform your treats into unforgettable bites of magic.
Oreo Cookies: The Perfect Crunch
Think of Oreo cookies as the royalty of comfort snacks. With their iconic black and white look and that unforgettable crunch, they are the peanut butter to jelly in the dessert world. Whether we’re dunking them in milk or smashing them into bits for a Halloween bark, Oreos always bring a crunchy twist that’s hard to beat.
History of Oreo Cookies
Oreos hit the shelves in 1912 and quickly climbed the popularity ladder. These cookies were born in a bakery in New York by the National Biscuit Company, which we now know as Nabisco. Originally, they had a pretty basic choice: the classic chocolate wafer sandwich with a creamy vanilla filling. Over the years, their evolution has been nothing short of legendary, morphing into a beloved snack worldwide.
Oreos have even outlasted the two world wars and the Great Depression, always somewhere in our cupboards to offer a little bit of luxury and comfort. They’ve turned into a timeless treat, always there with a satisfying crunch and that trademark twist-and-lick ritual.
Different Oreo Variants for Halloween
When Halloween rolls around, Oreo steps up its game. Have you ever seen a cookie dressed for Halloween? Oreo has! Their Halloween-themed cookies often feature festive designs on the wafers and an extra twist of orange-colored filling. It’s like a costume party for your taste buds!
But it doesn’t stop there. Here’s a spooky rundown of some fun Oreo variants you might want to add to your Halloween recipe:
- Halloween Oreos: Classic flavor, but the center is decked out in bright orange—no change in taste, just a little costume.
- Pumpkin Spice Oreos: These are perfect if you’re a fan of fall flavors. The creamy filling brings a pumpkin spice mix that screams Halloween.
- Chocolate Marshmallow Oreos: With added bits of marshmallow and chocolate flavor, they are like a campfire treat wrapped in a cookie.
These special flavors add not only to your recipe’s charm but also inject extra fun and excitement, making them ideal for transforming your white chocolate Halloween Oreo bark into something truly boo-tiful!
Combining these themed Oreos into your Halloween dessert is like creating a mini haunted house of flavors right in your mouth. The crunch, mixed with the creamy surprise center, tempts and teases at every bite. So, why choose plain when you can jazz it up with a bit of spooky flair?
Making White Chocolate Halloween Oreo Bark
Who said Halloween treats have to be all about pumpkins and candy corn? Why not try something a tad more exciting with this White Chocolate Halloween Oreo Bark? Not only is it a blast to make, but it’s also perfect for those Halloween parties or just a creepy night in. Let’s get you started on this scrumptious journey!
Ingredients You’ll Need
Before diving in, let’s make sure you have everything ready on your kitchen counter. Here’s a handy list of essentials to whip up this decadent bark:
- White Chocolate Chips or bars (about 2 cups)
- Halloween-themed Oreos (approx. 15 cookies)
- Mini Marshmallows (optional, but they add a fun chewy texture)
- Candy Eyeballs for that extra spooky touch
- Sprinkles in Halloween colors like orange, black, or purple
- Candy Corn (optional, for added festive flair)
Feel free to mix and match with these optional toppings to give your bark a twist of your own personality!

Step-by-Step Instructions
Ready to get your hands chocolatey? Follow these steps, and you’ll have eerie-delicious bark in no time!
- Prep the Oreos: Start by breaking the Oreos into rough chunks. You don’t need to be precise here; a little variety in size adds character.
- Melt the Chocolate: Use a microwave-safe bowl to melt the white chocolate chips. Heat in 30-second bursts, stirring in between, until smooth. You could also use a double boiler if you’re feeling fancy!
- Spread the White Chocolate: Pour the melted chocolate onto a parchment-lined baking sheet. Spread it out to about ¼-inch thick.
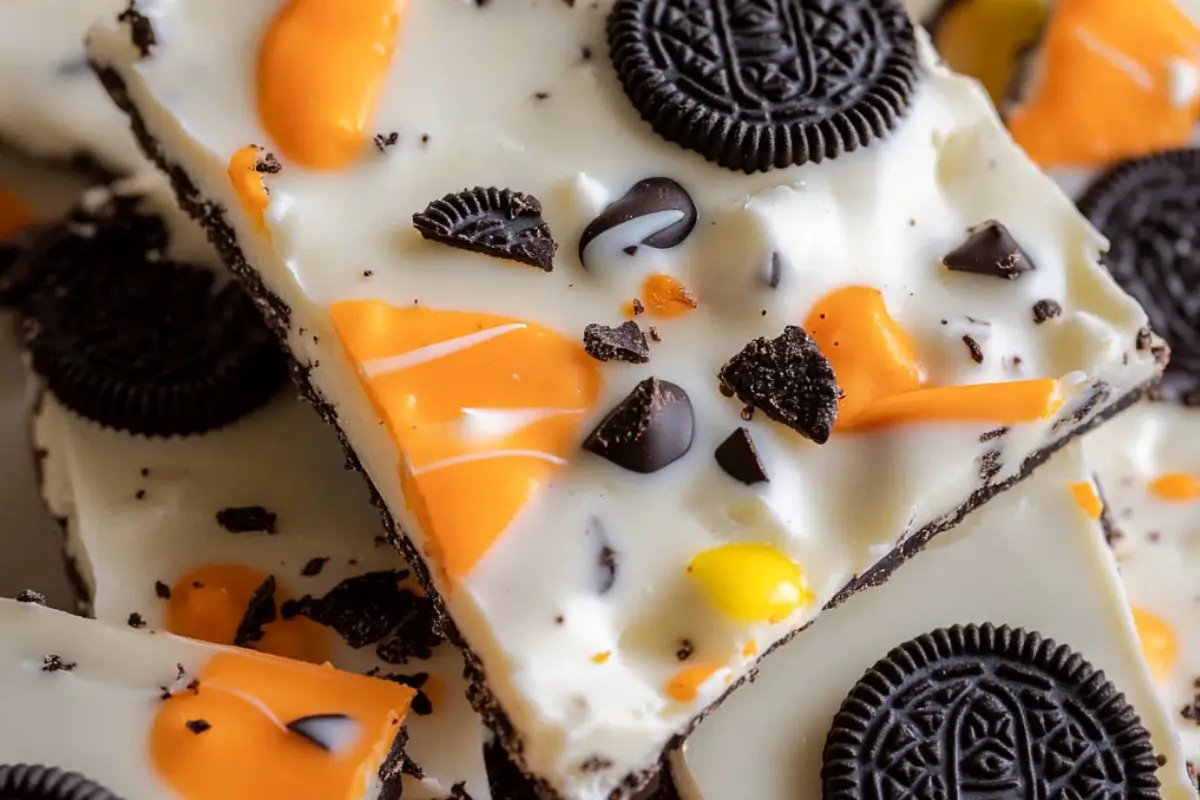
- Add the Oreos and Toppings: Sprinkle the broken Oreos evenly over the chocolate, pressing them lightly. Then, toss on marshmallows, candy eyeballs, sprinkles, and candy corn, ensuring every bit is covered in goodness.
- Set the Bark: Pop it in the fridge for at least 30 minutes. This allows the chocolate to harden, ensuring a satisfying snap when broken into pieces.
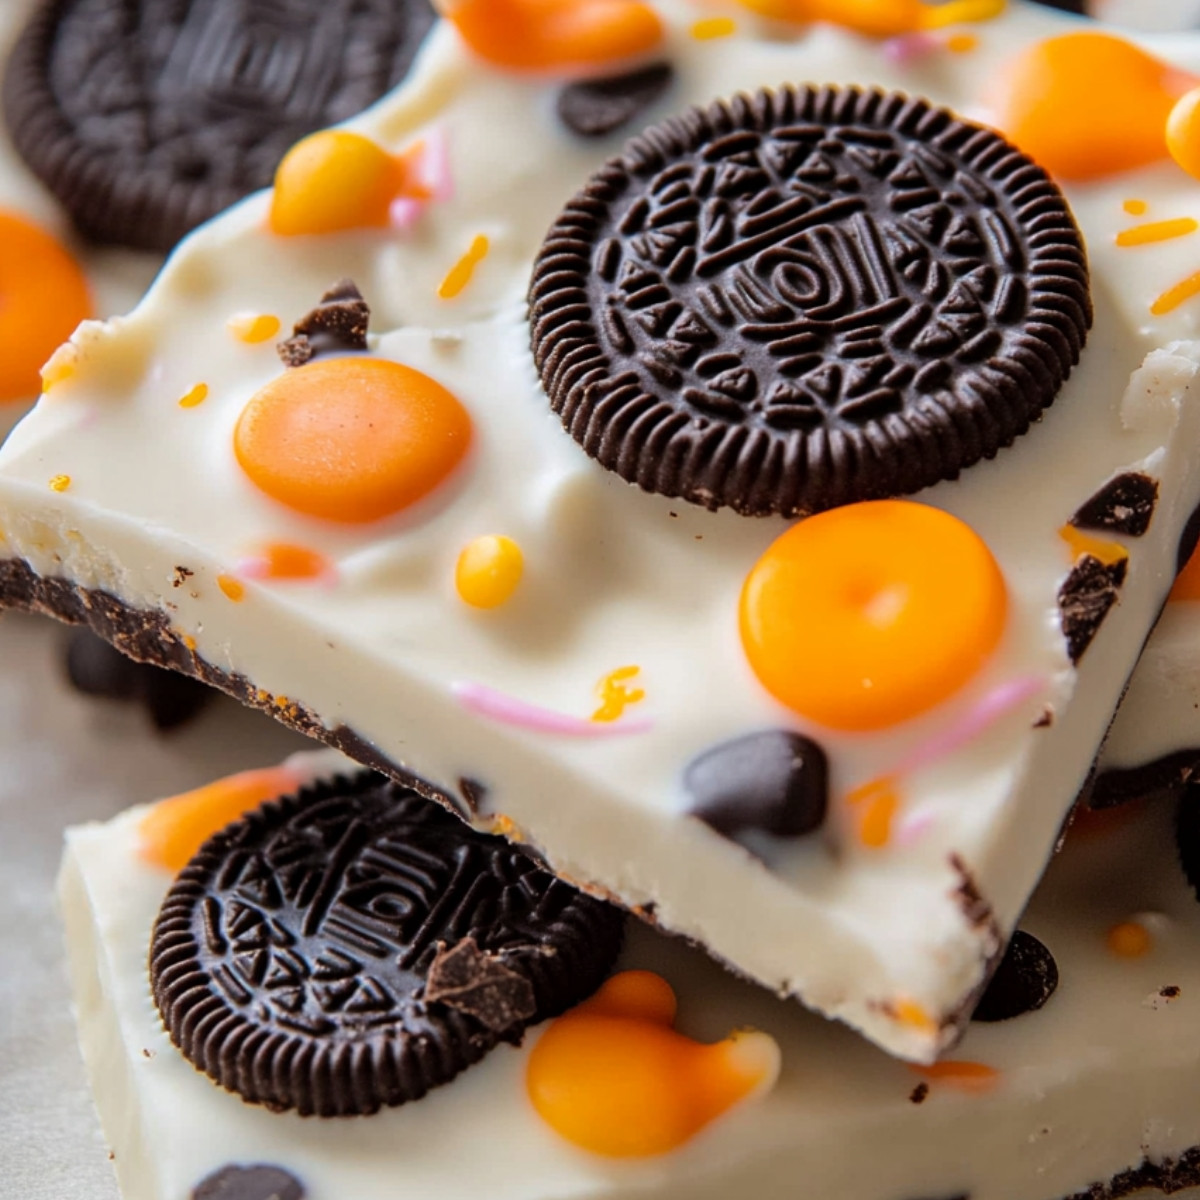
- Break and Serve: Once set, remove from the fridge and break into smaller pieces. Enjoy your terrifying treat!
Pro tip: Clean up is a breeze if you line your baking sheet with parchment paper!
Creative Variations and Add-ins
Why stick to the norm when you can innovate? Here are a few suggestions to give your bark an extra kick or a quirky twist:
- Dark Chocolate Drizzle: After the bark has set, a drizzle of dark chocolate can add a sophisticated touch and a flavor contrast.
- Crushed Pretzels: For those who love a bit of salty with their sweet, crushed pretzels make a fabulous addition.
- Crushed Candy Bars: Snickers, Twix, or even a Milky Way can take your bark to the next level. Chop them up and sprinkle before setting.
- Dried Fruits: Consider adding dried cranberries or cherries for a chewy surprise.
Experimentation is key! Don’t hesitate to try your own combos and find what makes your tastebuds dance with joy.
Presentation and Serving Ideas
Halloween is a magical time when the ordinary becomes extraordinary. And what better way to embrace the spooky spirit than with creatively presented White Chocolate Halloween Oreo Bark? Let your imagination run wild and add a sprinkle of magic to how you share and serve this delicious treat.
Spooky Packaging Ideas
Packaging your White Chocolate Halloween Oreo Bark can be as thrilling as the treat itself. Make your packaging as unique as the bark inside:
- Witch’s Cauldron Bags: Use small cauldron-shaped bags to hold pieces of your Oreo bark. Tie them with orange and black ribbons for an extra spellbinding touch.
- Ghostly Jars: Fill mason jars with bark and decorate the outside to look like friendly ghosts. You can use white paint or cover them with ghost-patterned paper.
- Mummy Wrap: Wrap individual pieces of bark in white crepe paper, leaving a gap for two googly eyes. It creates the perfect mummy look, sure to catch everyone’s eye.
- Spider Web Boxes: Use small black boxes and adorn them with drawn or glued-on spider webs. Tuck the Oreo bark snugly inside—it’s a sweet surprise amidst the eerie decor.
These options make fantastic gifts or additions to Halloween goodie bags, ensuring your treats are remembered long after the candy is gone.
Serving Suggestions for Halloween Parties
When it comes to Halloween parties, presentation is key to creating a memorable experience. Here are some fun ways to serve your bark:
- Horror Movie Platter: Layer pieces of the Oreo bark on a silver tray interspersed with fake cobwebs for a touch of cinematic flair. Add small plastic spiders for a chilling effect.
- Pumpkin Patch Display: Arrange the bark alongside mini decorative pumpkins on a large wooden board. This setup is simple yet eye-catching, perfect for a rustic Halloween vibe.
- Cauldron of Sweets: Place your bark pieces in a large cauldron filled with dry ice (handled safely) for a foggy, mysterious presentation. It’s an instant crowd-pleaser, adding drama to your dessert table.
- Themed Tiers: Use a tiered stand and label each level with Halloween-themed names like “Witch’s Delight,” “Ghostly Crunch,” and “Monster Munch.”
Before you know it, your White Chocolate Halloween Oreo Bark will become the highlight of your party. It’s more than just a treat—it’s the life of the party! How will you present your spooky bark this Halloween?
Storage Tips for Your Bark
After you’ve whipped up a batch of white chocolate Halloween Oreo bark, knowing how to store those delicious bites is key to keeping them fresh and tasty. Follow these tips to make sure every piece stays just as delightful as the first bite.
How Long Does It Last?
Wondering about the shelf life of your chocolatey masterpiece? Ideally, your bark should last around two weeks when stored properly. The trick is to keep it in an airtight container to avoid moisture, which is the enemy of chocolate’s snap and texture.
- Room Temperature: Store your bark in a cool, dry place. Avoid direct sunlight or warm kitchens because heat can make your chocolate blooms (and not the pretty flower kind).
- Fridge: If your kitchen tends to be warm, you can store it in the refrigerator. Just be sure it’s in an airtight container to prevent any unwanted fridge flavors from sneaking in.
Freezing White Chocolate Bark
Want to keep your treat fresh for longer? Freezing is your go-to option. Here’s how to do it without sacrificing flavor or texture.
- Cut Into Pieces: Before freezing, cut your bark into manageable pieces. This way, you can grab a piece or two without defrosting the entire batch.
- Wrap It Up: Wrap each piece individually in wax paper or parchment paper. The goal is to prevent pieces from sticking together.
- Seal It Tight: Place the individually wrapped pieces in a heavy-duty freezer bag or airtight container. Remove as much air as possible to lessen the risk of freezer burn.
- Label With Date: Write the date on the bag, so you remember how long it’s been in the freezer. Your frozen bark should be good for up to three months.
By using these strategies, your white chocolate Halloween Oreo bark will be waiting, fresh and fabulous, whenever you crave a sweet treat.
Enjoying Your Halloween Treats
Congratulations! You’ve crafted the perfect White Chocolate Halloween Oreo Bark. Now, it’s time to kick back and savor your masterpiece. But how can you make the most of this scrumptious seasonal treat?
Share the Joy
Why keep all the fun to yourself? Sharing your homemade bark can be the perfect way to spread a little Halloween spirit. Whether it’s with friends, family, or neighbors, these sweet bites are sure to please.
- Gift Wrap: Place bark pieces in cute Halloween-themed bags and hand them out as gifts. Who wouldn’t love a surprise treat?
- Party Snack: Set out a platter during a Halloween gathering—it’s bound to be a hit!
Mix and Match
One of the best parts about creating your own candy is all the fun variations you can try. Make each batch a little different to keep things exciting!
- Add-ins: Mix in candy corn, nuts, or pretzels for some crunch.
- Drizzles: Try drizzling melted caramel or dark chocolate on top for extra flair.
Get Creative
Bring out your inner artist. This bark recipe is the perfect canvas.
- Shapes: Use cookie cutters to make fun, spooky shapes.
- Toppings: Sprinkle on edible glitter, colorful sprinkles, or mini marshmallows. Let your imagination run wild!
Savor Every Bite
Take a moment to appreciate your creation. Indulge in a piece alongside a warm mug of cocoa or curl up with a creepy movie. Each bite is a celebration of the season’s flavors.
As you munch on your Halloween Oreo Bark, remember: it’s not just a treat; it’s a mood, a memory, and a little slice of the festive spirit. Enjoy every bit and share the joy with those around you!