Introduction
Without the classic cocoa powder, these Red Velvet Cream Cheese Thumbprint Cookies bring you a unique twist on a beloved treat. Gleaming with that rich, red hue, and topped with creamy, dreamy cheese filling, these little bites of joy are perfect for any festive occasion or whenever the craving strikes!
Detailed Ingredients with measures
- For the Cookies:
- 1 1/2 cups all-purpose flour
- 2 tablespoons cornstarch
- 1/4 teaspoon baking powder
- 1/4 teaspoon salt
- 1/2 cup unsalted butter, softened
- 1/2 cup granulated sugar
- 1 large egg yolk
- 1 teaspoon vanilla extract
- 1 tablespoon red food coloring
- For the Cream Cheese Filling:
- 4 ounces cream cheese, softened
- 1/4 cup powdered sugar
- 1/2 teaspoon vanilla extract
Preparation Time
- Prep Time: 20 minutes
- Cook Time: 10 minutes
- Total Time: 30 minutes
- Yield: About 12 cookies
Directions
1. Preheat your oven to 350°F (175°C) and line a baking sheet with parchment paper.
2. In a bowl, whisk together flour, cornstarch, baking powder, and salt. Set aside.
3. In a separate bowl, beat the butter and sugar together until creamy and smooth. Add the egg yolk, vanilla extract, and red food coloring, mixing until fully combined.
4. Gradually add the dry ingredients to the wet ingredients, mixing until a dough forms.
5. Roll the dough into 1-inch balls and place them on the prepared baking sheet, about 2 inches apart. Use your thumb or a small spoon to press an indent into the center of each cookie.
6. Bake for 10 minutes, then remove from the oven. If needed, re-press the indents gently.
7. While the cookies cool slightly, prepare the filling by beating together the cream cheese, powdered sugar, and vanilla until smooth.
8. Spoon or pipe the cream cheese mixture into the indents of the cookies. Enjoy them warm or let them cool completely.
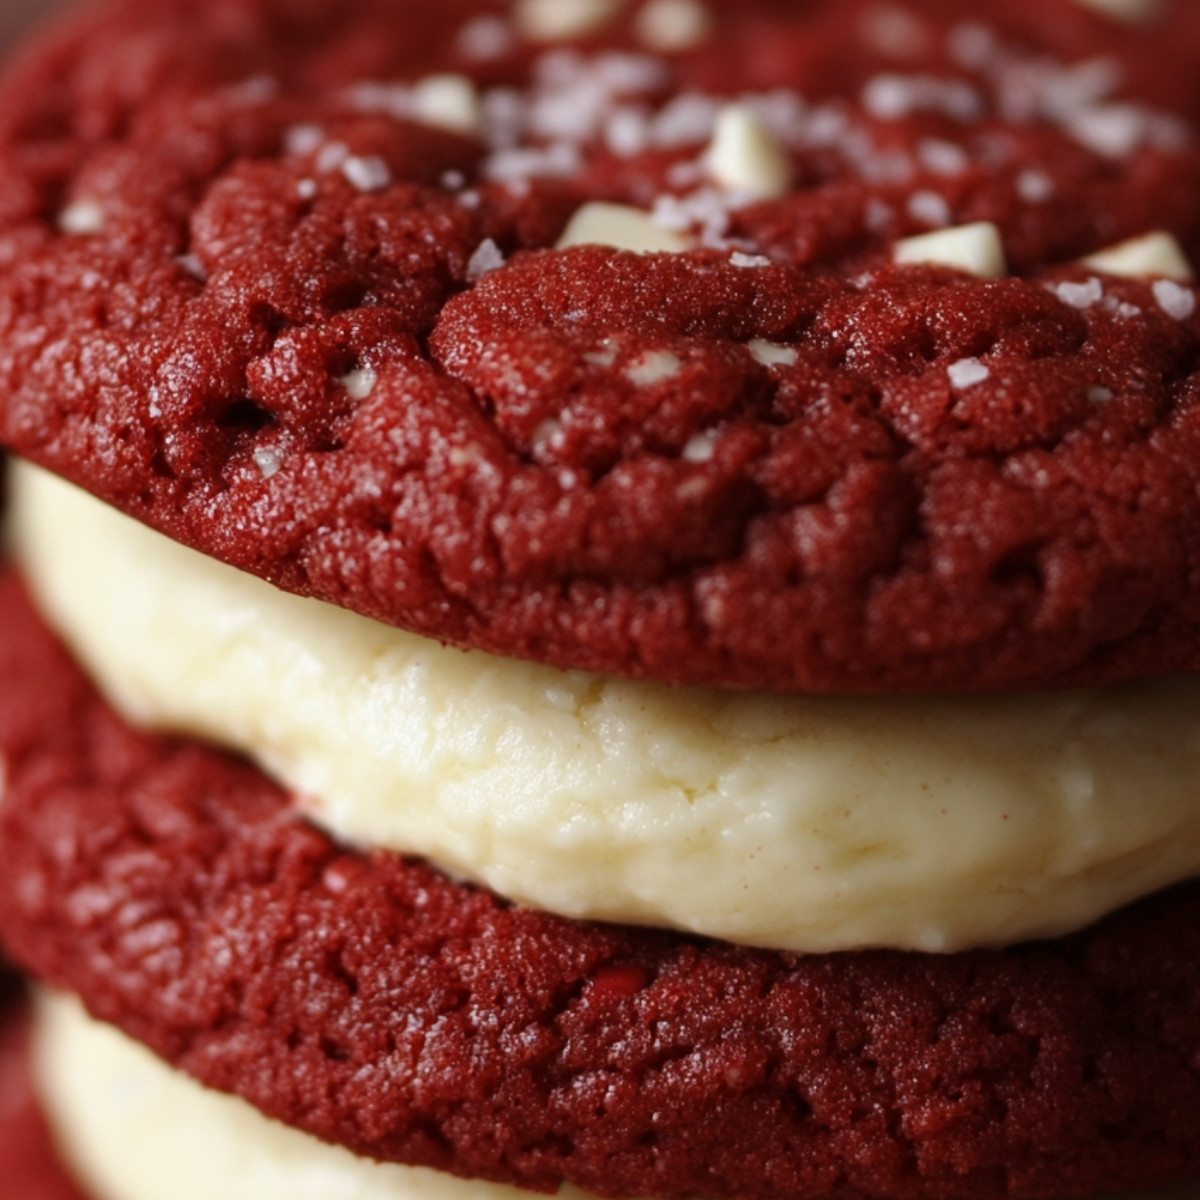
A single cookie boasts a soft, crumbly base with a luscious, tangy filling that’ll have you reaching for another!
Detailed Directions and Instructions
Step 1: Preheat the Oven
Preheat your oven to 350°F (175°C) and line a baking sheet with parchment paper.
Step 2: Prepare Dry Ingredients
In a bowl, whisk together 1 1/2 cups all-purpose flour, 2 tablespoons cornstarch, 1/4 teaspoon baking powder, and 1/4 teaspoon salt. Set aside.
Step 3: Cream Butter and Sugar
In a separate bowl, beat 1/2 cup unsalted butter (softened) and 1/2 cup granulated sugar together until creamy and smooth. Add 1 large egg yolk, 1 teaspoon vanilla extract, and 1 tablespoon red food coloring, mixing until fully combined.
Step 4: Combine Wet and Dry Ingredients
Gradually add the dry ingredients to the wet ingredients, mixing until a dough forms.
Step 5: Shape the Cookies
Roll the dough into 1-inch balls and place them on the prepared baking sheet, about 2 inches apart. Use your thumb or a small spoon to press an indent into the center of each cookie.
Step 6: Bake the Cookies
Bake for 10 minutes, then remove from the oven. If needed, re-press the indents gently.
Step 7: Make the Cream Cheese Filling
While the cookies cool slightly, prepare the filling by beating together 4 ounces cream cheese (softened), 1/4 cup powdered sugar, and 1/2 teaspoon vanilla extract until smooth.
Step 8: Fill the Cookies
Spoon or pipe the cream cheese mixture into the indents of the cookies. Enjoy them warm or let them cool completely.
Notes
Storage
Store any leftover cookies in an airtight container at room temperature for up to 3 days or in the refrigerator for up to a week.
Coloring Adjustment
Adjust the amount of red food coloring based on your preference for a more or less vibrant hue.
Filling Variations
Feel free to experiment with different flavor extracts or toppings for the cream cheese filling, such as lemon zest or chopped nuts.

Cook techniques
Mixing Ingredients
Ensure that when you beat the butter and sugar together, the mixture becomes creamy and smooth before adding other ingredients.
Coloring the Dough
When adding red food coloring, use a small amount at first and gradually increase until the desired hue is achieved.
Creating the Indent
Press the center of each cookie gently with your thumb or a small spoon to create a well for the cream cheese filling after baking.
Baking Tips
Bake the cookies just until they are set but not browned. If the indents lose their shape, re-press them immediately after removing from the oven.
Filling Technique
For a smooth filling, ensure your cream cheese is softened adequately and mix until fully combined before adding it to the cookies.
FAQ
Can I use a different type of food coloring?
Yes, you can use gel or liquid food coloring, but make sure it fits your flavor and decor preferences.
How can I store these cookies?
Store the cookies in an airtight container at room temperature for up to three days or refrigerate them for longer freshness.
Can I make these cookies ahead of time?
Yes, you can prepare the dough and store it in the refrigerator for up to three days before baking.
What can I use instead of cream cheese in the filling?
You can substitute with mascarpone cheese or a non-dairy cream cheese for a different flavor profile.
Are these cookies suitable for a gluten-free diet?
To make them gluten-free, use a gluten-free flour blend instead of all-purpose flour.
Conclusion
More recipes suggestions and combination
Chocolate Chip Cookies
Try classic chocolate chip cookies for a timeless treat.
Peanut Butter Blossoms
Pair these red velvet cookies with peanut butter blossoms for a delightful combination.
Lemon Cream Cheese Cookies
Explore a citrusy twist with lemon-flavored cream cheese cookies.
Oatmeal Raisin Cookies
Balance sweetness with heartiness by adding oatmeal raisin cookies to your baking list.

Red Velvet Cream Cheese Cookies
Without the classic cocoa powder, these Red Velvet Cream Cheese Thumbprint Cookies bring you a unique twist on a beloved treat. Gleaming with that rich, red hue, and topped with creamy, dreamy cheese filling, these little bites of joy are perfect for any festive occasion or whenever the craving strikes!
- Prep Time: 20 minutes
- Cook Time: 10 minutes
- Total Time: 30 minutes
- Yield: 12 cookies 1x
Ingredients
- For the Cookies:
- 1 1/2 cups all-purpose flour
- 2 tablespoons cornstarch
- 1/4 teaspoon baking powder
- 1/4 teaspoon salt
- 1/2 cup unsalted butter, softened
- 1/2 cup granulated sugar
- 1 large egg yolk
- 1 teaspoon vanilla extract
- 1 tablespoon red food coloring
- For the Cream Cheese Filling:
- 4 ounces cream cheese, softened
- 1/4 cup powdered sugar
- 1/2 teaspoon vanilla extract
Instructions
Step 1: Preheat the Oven
Preheat your oven to 350°F (175°C) and line a baking sheet with parchment paper.
Step 2: Prepare Dry Ingredients
In a bowl, whisk together 1 1/2 cups all-purpose flour, 2 tablespoons cornstarch, 1/4 teaspoon baking powder, and 1/4 teaspoon salt. Set aside.
Step 3: Cream Butter and Sugar
In a separate bowl, beat 1/2 cup unsalted butter (softened) and 1/2 cup granulated sugar together until creamy and smooth. Add 1 large egg yolk, 1 teaspoon vanilla extract, and 1 tablespoon red food coloring, mixing until fully combined.
Step 4: Combine Wet and Dry Ingredients
Gradually add the dry ingredients to the wet ingredients, mixing until a dough forms.
Step 5: Shape the Cookies
Roll the dough into 1-inch balls and place them on the prepared baking sheet, about 2 inches apart. Use your thumb or a small spoon to press an indent into the center of each cookie.
Step 6: Bake the Cookies
Bake for 10 minutes, then remove from the oven. If needed, re-press the indents gently.
Step 7: Make the Cream Cheese Filling
While the cookies cool slightly, prepare the filling by beating together 4 ounces cream cheese (softened), 1/4 cup powdered sugar, and 1/2 teaspoon vanilla extract until smooth.
Step 8: Fill the Cookies
Spoon or pipe the cream cheese mixture into the indents of the cookies. Enjoy them warm or let them cool completely.
Notes
Storage
Store any leftover cookies in an airtight container at room temperature for up to 3 days or in the refrigerator for up to a week.
Coloring Adjustment
Adjust the amount of red food coloring based on your preference for a more or less vibrant hue.
Filling Variations
Feel free to experiment with different flavor extracts or toppings for the cream cheese filling, such as lemon zest or chopped nuts.

