Introduction
Have you ever had a moment that made you feel like the world stood still, where the sweet flavors of a delightful treat just melted your worries away? Strawberry Cheesecake Bites can be those little treasures that spark joy and create beautiful memories. Picture yourself sharing these scrumptious treats with family and friends during a sunny gathering or cozy evening at home. Every bite is a reminder of life’s sweetest moments, making it perfect for celebrating milestones, rainy days, or simply indulging in a well-deserved treat.
As you roll up your sleeves and dive into making these Strawberry Cheesecake Bites, you’ll not only create something delicious but also share warmth and happiness. The combination of creamy cheesecake with the fresh burst of strawberries takes you back to those carefree days of summer. With every bite, you’ll be reminded of laughter-filled gatherings, heartfelt conversations, and the simple pleasure of indulging in something made with love. So, let’s begin this delightful journey together and whip up a batch of these irresistible bites!
Detailed Ingredients with measures
- 8 ounces cream cheese, softened
- 1/3 cup powdered sugar
- 1 teaspoon vanilla extract
- 1 cup crushed graham crackers
- 1/4 cup melted butter
- 1 cup fresh strawberries, diced
- 1/2 cup whipped cream
Preparation Time
- Prep Time: 20 minutes
- Cook Time: 0 minutes
- Total Time: 20 minutes
- Yield: 24 bites
Detailed Directions and Instructions
Step 1: Prepare the Pan
Line a mini muffin tin with mini cupcake liners to ensure easy removal of the cheesecake bites once they are set.
Step 2: Make the Crust
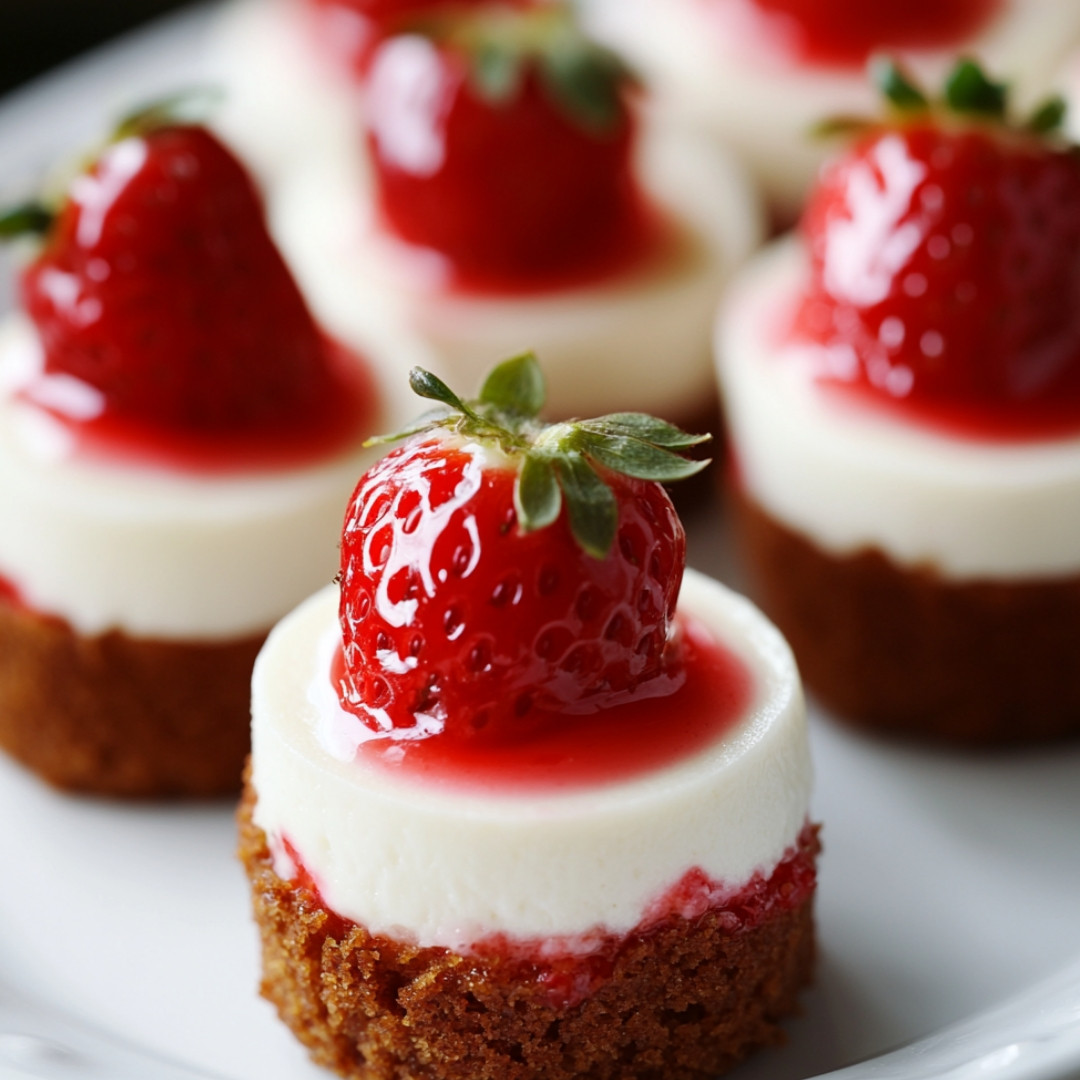
In a bowl, combine crushed graham crackers with melted butter. Mix until the texture resembles wet sand.
Step 3: Fill the Muffin Tin
Spoon the crust mixture into the prepared mini muffin tin, pressing it down firmly to form a solid base.
Step 4: Prepare the Cheesecake Filling
In a mixing bowl, beat together cream cheese, sugar, and vanilla extract until smooth. Ensure there are no lumps for a creamy filling.
Step 5: Add the Eggs
Gently incorporate the eggs into the cheesecake mixture. Mix until just combined to avoid overbeating.
Step 6: Assemble the Bites
Pour the cheesecake filling over the crust in each muffin tin, filling them about 3/4 full.
Step 7: Bake
Preheat the oven to 325°F (160°C) and bake for approximately 15 to 20 minutes, or until the centers are set but still slightly jiggly.
Step 8: Cool and Chill
Allow the cheesecake bites to cool in the pan for a few minutes before transferring them to the refrigerator. Chill for at least 2 hours to set completely.
Step 9: Serve
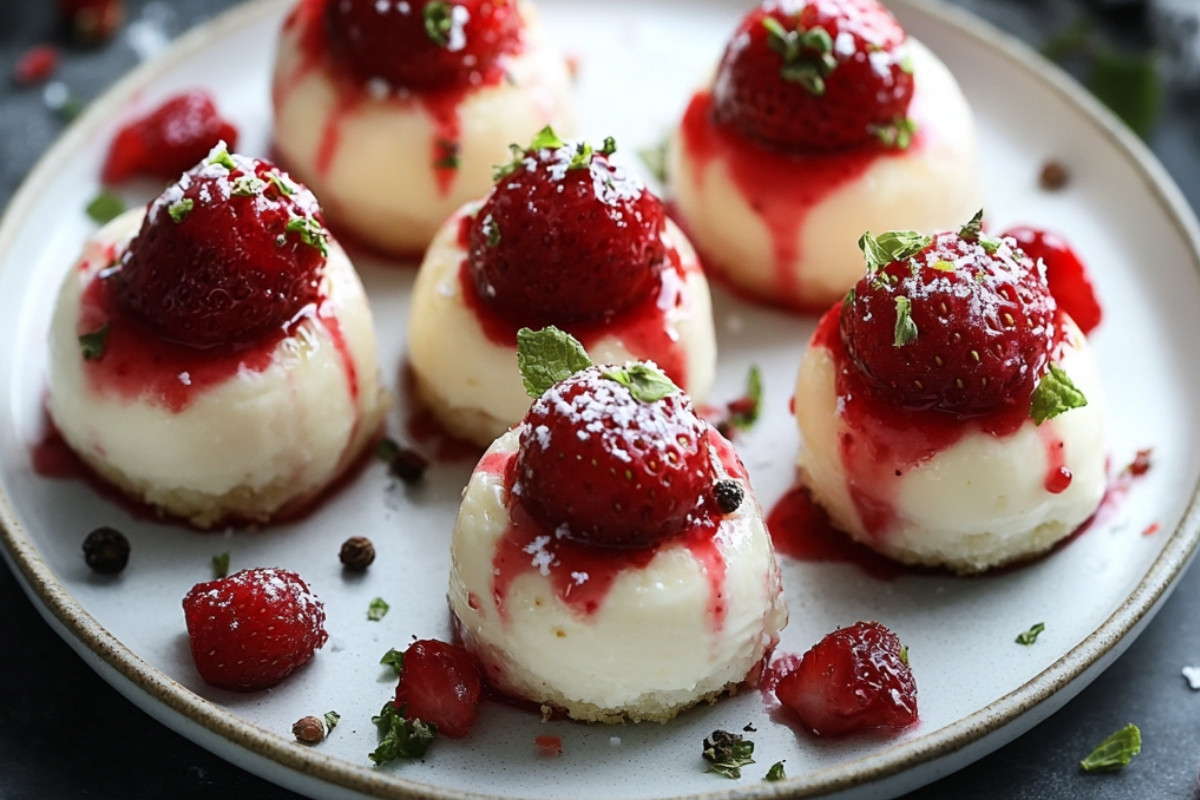
Once chilled, remove the cheesecake bites from the liners and serve. Consider topping them with fresh strawberries or whipped cream for added flavor.
Creative Variations for Cheesecake Bites
There are numerous ways to customize your cheesecake bites to create different flavors and enhance their appeal. Consider adding flavors like lemon zest for a citrus twist or chocolate chip morsels for a sweeter option. Additionally, blending in different extracts such as almond or coconut can provide unique flavor profiles.
The Perfect Occasion for Cheesecake Bites
These strawberry cheesecake bites are ideal for a variety of occasions, from birthday parties to holiday gatherings. Their mini size makes them convenient for sharing and serving, allowing guests to indulge without overdoing it. A platter of colorful cheesecake bites can make your dessert table stand out and delight your guests.
Pairing Suggestions for Your Cheesecake Bites
When serving cheesecake bites, consider pairing them with complementary flavors. A light and fruity wine, such as a Moscato or a sparkling rosé, can enhance the sweetness of the cheesecake. Alternatively, serving them alongside a rich coffee or espresso will contrast nicely with the creamy texture and sweetness of the bites, creating a delightful balance.

Cook techniques
Crushing the Crackers
To create the base for the cheesecake bites, you will need to crush the crackers into fine crumbs. A food processor works well for this task, but you can also place the crackers in a zip-top bag and use a rolling pin to crush them.
Mixing the Filling
Incorporate the cream cheese, sugar, and vanilla extract until the mixture is smooth and creamy. Make sure all ingredients are at room temperature for the best results, as this will help achieve a silky texture.
Chilling the Bites
After assembling your cheesecake bites, chill them in the refrigerator for at least an hour. This step is essential for the bites to set properly and for the flavors to meld together.
Garnishing with Strawberries
Just before serving, top each cheesecake bite with a slice of fresh strawberry. This not only adds a pop of color but also enhances the flavor profile with a fresh touch.
FAQ
Can I use a different type of cracker?
Yes, you can experiment with different types of crackers. Graham crackers are a classic choice, but chocolate or vanilla wafers can also add unique flavors to the crust.
How long do these cheesecake bites last?
When stored in an airtight container in the fridge, the cheesecake bites can last up to 3 days.
Can I make these cheesecake bites ahead of time?
Absolutely! These bites can be made a day in advance, allowing the flavors to develop even more.
What can I substitute for cream cheese?
For a lower-fat option, you can use Greek yogurt or a dairy-free cream cheese alternative.
Can I freeze leftover bites?
Yes, you can freeze the cheesecake bites. Just be sure to wrap them well to prevent freezer burn. Thaw them in the refrigerator before serving.
Serving and Presentation Ideas
For an elegant presentation, arrange the cheesecake bites on a decorative platter and garnish with fresh mint leaves. Consider pairing them with a drizzle of chocolate sauce or a dollop of whipped cream. These bites are perfect for parties, picnics, or as a sweet treat after dinner.
Conclusion
These strawberry cheesecake bites are not just delightful treats; they encapsulate the joy of sharing sweet moments with loved ones. With their creamy texture and fresh strawberry toppings, they create an atmosphere of warmth and celebration at any gathering. As you experiment with your variations or presentation ideas, think about what special memories you want to create with these delightful bites. What unique twists have you added to this recipe to make it your own? We’d love to hear your thoughts and experiences!
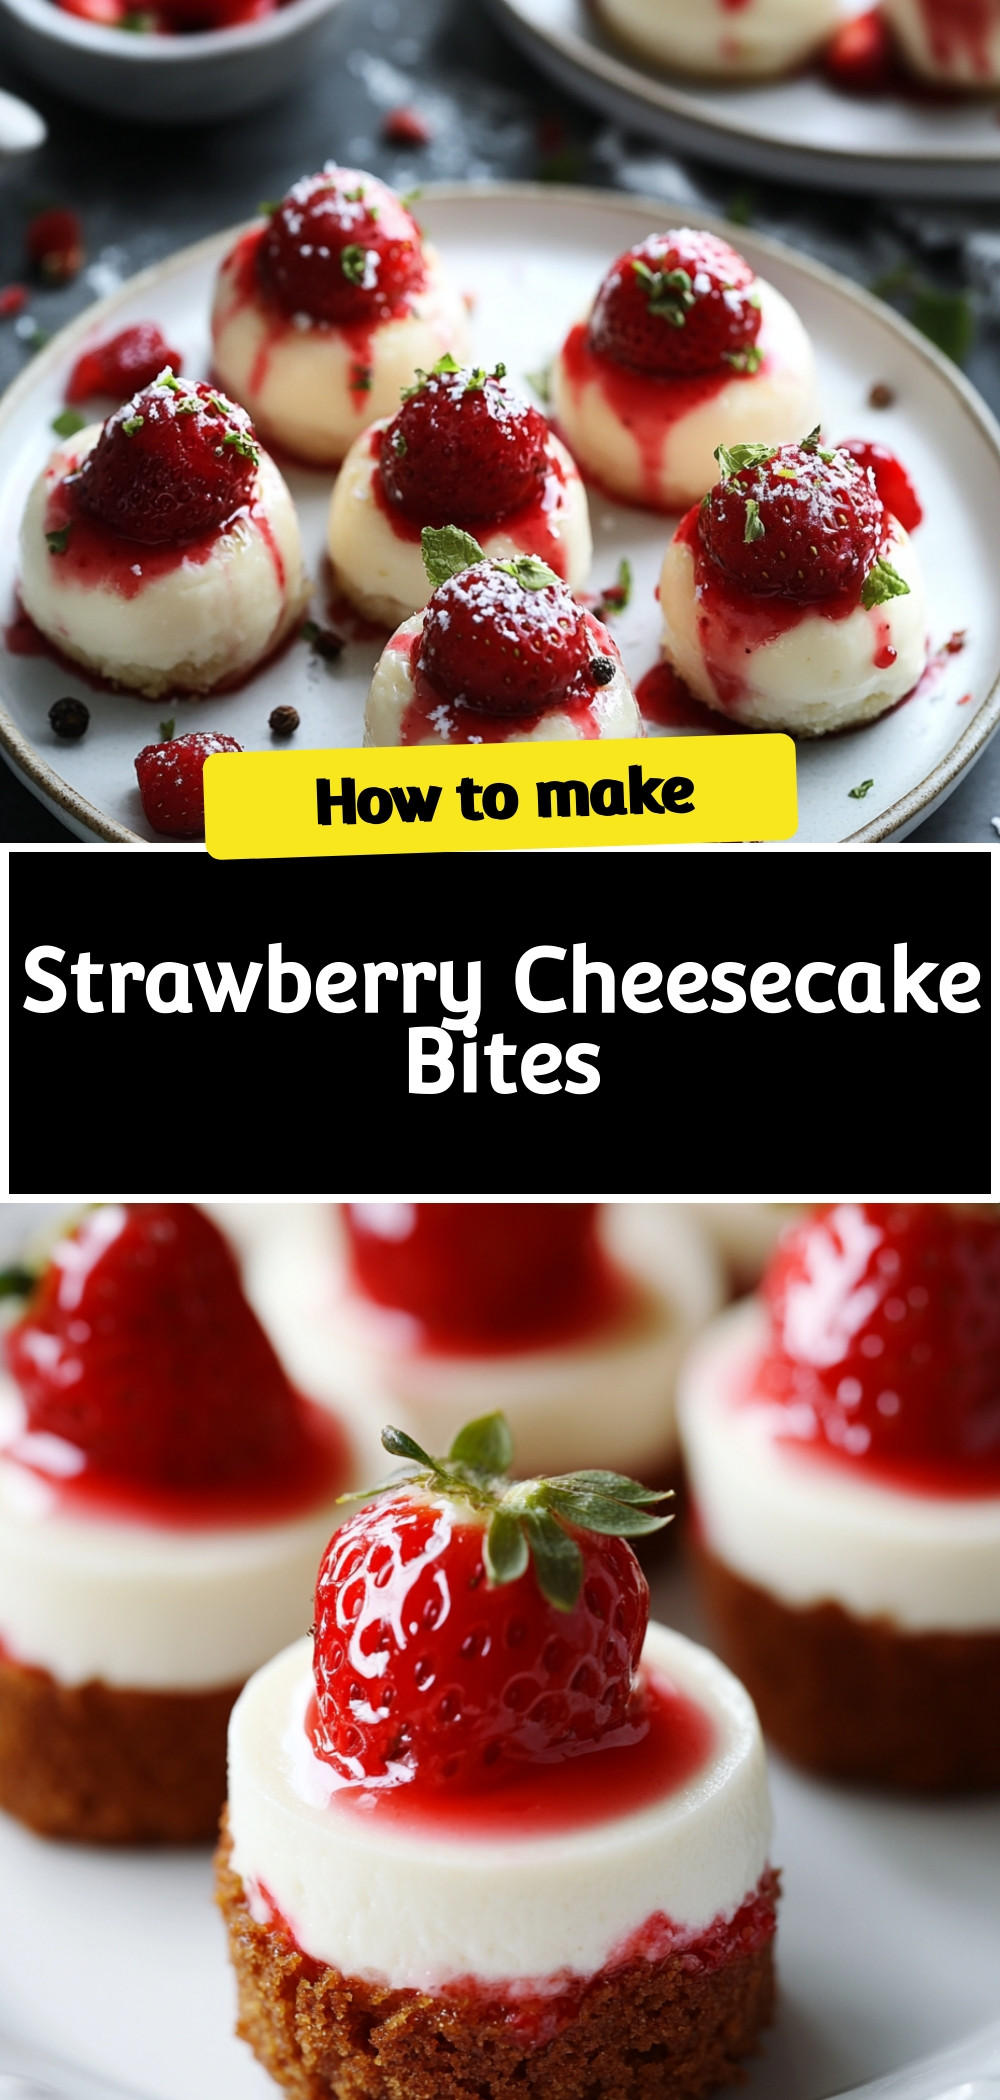

Strawberry Cheesecake Bites
- Total Time: 20 minutes
- Yield: 24 bites 1x
Description
Have you ever had a moment that made you feel like the world stood still, where the sweet flavors of a delightful treat just melted your worries away? Strawberry Cheesecake Bites can be those little treasures that spark joy and create beautiful memories. Picture yourself sharing these scrumptious treats with family and friends during a sunny gathering or cozy evening at home. Every bite is a reminder of life’s sweetest moments, making it perfect for celebrating milestones, rainy days, or simply indulging in a well-deserved treat.
Ingredients
- 8 ounces cream cheese, softened
- 1/3 cup powdered sugar
- 1 teaspoon vanilla extract
- 1 cup crushed graham crackers
- 1/4 cup melted butter
- 1 cup fresh strawberries, diced
- 1/2 cup whipped cream
Instructions
Line a mini muffin tin with mini cupcake liners to ensure easy removal of the cheesecake bites once they are set.
In a bowl, combine crushed graham crackers with melted butter. Mix until the texture resembles wet sand.
Spoon the crust mixture into the prepared mini muffin tin, pressing it down firmly to form a solid base.
In a mixing bowl, beat together cream cheese, sugar, and vanilla extract until smooth. Ensure there are no lumps for a creamy filling.
Gently incorporate the eggs into the cheesecake mixture. Mix until just combined to avoid overbeating.
Pour the cheesecake filling over the crust in each muffin tin, filling them about 3/4 full.
Preheat the oven to 325°F (160°C) and bake for approximately 15 to 20 minutes, or until the centers are set but still slightly jiggly.
Allow the cheesecake bites to cool in the pan for a few minutes before transferring them to the refrigerator. Chill for at least 2 hours to set completely.
Once chilled, remove the cheesecake bites from the liners and serve. Consider topping them with fresh strawberries or whipped cream for added flavor.
- Prep Time: 20 minutes
- Cook Time: 0 minutes